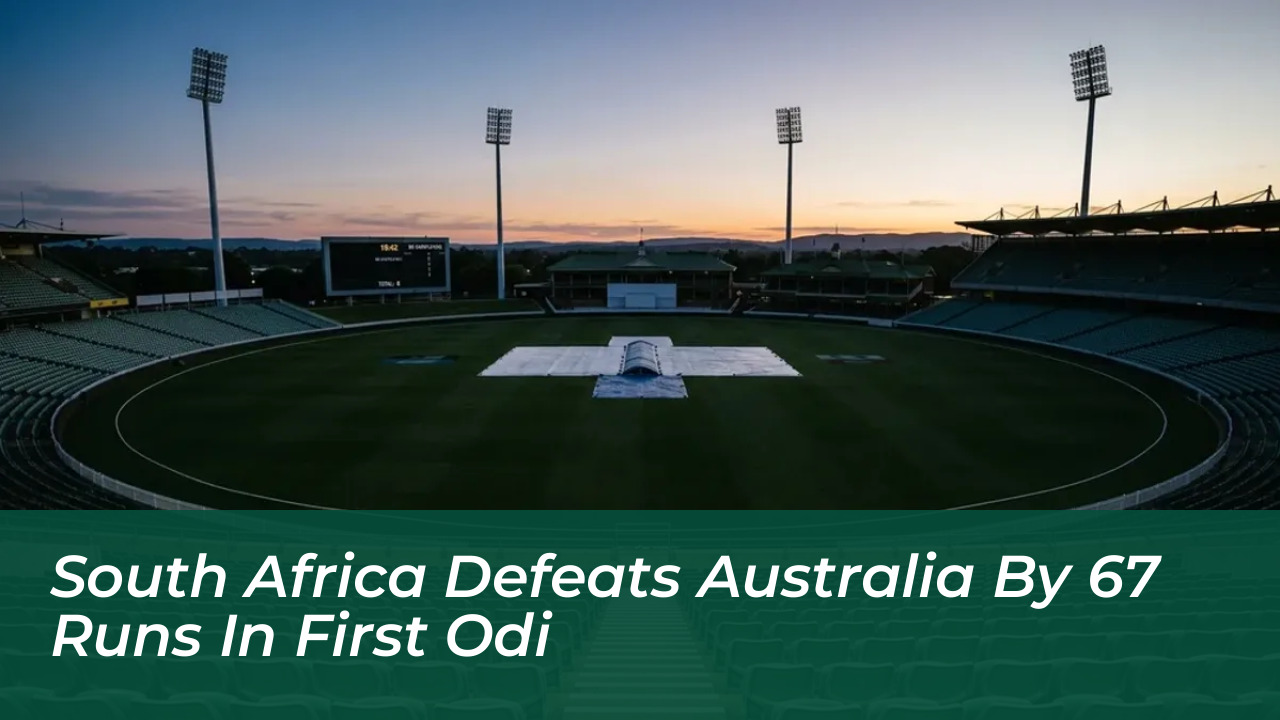
South Africa opened the bilateral One Day International series in commanding fashion by securing a 67-run victory over Australia at Kingsmead Stadium in Durban. The home team posted a competitive total of 297/8 in their allotted 50 overs before executing a disciplined bowling plan that dismissed the touring Australian side for 230 runs. This victory gives South Africa an early psychological and scoreboard advantage in the multi-format series, showcasing their resilience after a turbulent start to their innings.
- Match Overview and Series Impact
- Early Collapse and Australian Pace Dominance
- Struggles of the Top Order
- The Strike of Hazlewood and Ellis
- Matthew Breetzke Anchors the Innings
- Second ODI Century Milestone
- Tactical Counter-Attack
- Marco Jansen Unleashes Lower-Order Fireworks
- Crucial Sixth-Wicket Partnership
- Explosive Half-Century
- Australian Chase Falters in Durban
- Early Setbacks in the Powerplay
- Middle-Order Resistance Fails
- Decisive Turning Points in the Match
- Match Summary Statistics
- Implications for the Remainder of the Series
- Frequently Asked Questions
- What was the final score of the first ODI between South Africa and Australia?
- Where was the first ODI played?
- Who scored a century for South Africa?
- Who was Australia’s best bowler in the match?
Kingsmead Stadium provided traditional early-morning assistance for fast bowlers, creating immediate headaches for the South African top order. Josh Hazlewood and Nathan Ellis exploited the lively surface effectively, cutting through the early batting lineup and leaving the hosts struggling at 29/2. However, a brilliant rescue act led by Matthew Breetzke and supported by a destructive cameo from Marco Jansen shifted the momentum permanently.
Match Overview and Series Impact
The thrilling encounter at Kingsmead Stadium set the tone for an intense multi-format series between two fierce cricketing rivals. South Africa managed to overcome early setbacks to post a formidable total, putting the pressure firmly on the touring Australian side under lights.
- Final scores and match summary highlighting the 67-run margin of victory
- Early psychological and scoreboard advantage for the hosts in the series
- Overview of the multi-format series dynamics and upcoming fixtures
Early Collapse and Australian Pace Dominance
The Australian bowling attack capitalized heavily on the moisture and bounce present in the Durban pitch during the opening powerplay. Hazlewood hit consistent lengths that troubled the batsmen, while Ellis maintained relentless pressure from the opposite end. South Africa lost early wickets as the top order failed to read the movement off the seam.
Struggles of the Top Order
Ryan Rickelton managed a hard-fought 27 runs from 26 balls before succumbing to the relentless pressure. Experienced figures like Temba Bavuma and David Miller struggled to adapt to the variable bounce and lateral movement, falling cheaply and exposing the middle order far earlier than the team management anticipated.
- Ryan Rickelton fighting hard for 27 runs from 26 balls
- Temba Bavuma and David Miller falling cheaply to variable bounce
- Mounting scoreboard pressure during the first fifteen overs
The Strike of Hazlewood and Ellis
Josh Hazlewood maintained tight control, conceding very few boundary scoring opportunities during his opening spell. Nathan Ellis complemented his fellow fast bowler by mixing his pace cleverly, eventually finishing as Australia’s standout bowler with figures of 3 for 57.
- Josh Hazlewood maintaining tight control and restricting boundaries
- Nathan Ellis finishing as Australia’s standout bowler with 3 for 57
- South Africa reeling at 168/5 in the 34th over
Matthew Breetzke Anchors the Innings
Facing a precarious situation at 168/5, Matthew Breetzke played the defining innings of the match. The right-hander absorbed the pressure before launching a calculated counter-attack against the Australian spin and pace options. He paced his knock exceptionally well, reaching his milestone under intense pressure.
Second ODI Century Milestone
Breetzke compiled 112 runs from 106 balls to register his second career ODI century. His shot selection stood out as he punished anything slightly overpitched or short. The innings featured 14 crisp boundaries and two towering sixes, proving his ability to anchor an innings while maintaining a healthy strike rate.
- Breetzke compiling 112 runs from 106 balls
- Inning highlights featuring 14 crisp boundaries and two sixes
- Exceptional shot selection against spin and pace
Tactical Counter-Attack
Instead of playing defensively to rebuild the total, Breetzke actively disrupted the rhythm of the Australian bowlers. He rotated the strike efficiently with his partners and punished loose deliveries square of the wicket. His partnership management ensured that South Africa crossed the psychological barrier of 250 runs.
- Disrupting the rhythm of the Australian bowling attack
- Efficient strike rotation and punishing loose deliveries
- Crossing the psychological barrier of 250 runs
Marco Jansen Unleashes Lower-Order Fireworks
When Breetzke needed an aggressive partner to accelerate the run rate, Marco Jansen delivered a devastating lower-order performance. The lanky all-rounder joined Breetzke at the crease when the innings hung in the balance, and the pair completely shifted the momentum of the match.
Crucial Sixth-Wicket Partnership
Breetzke and Jansen forged a record-shattering sixth-wicket partnership worth 107 runs. This stand demoralized the Australian bowling attack, which struggled to find containment options in the latter stages of the innings. The partnership pushed South Africa from a modest total into a commanding position.
- Record-shattering 107-run partnership between Breetzke and Jansen
- Demoralizing the Australian bowling attack in the death overs
- Pushing the total into a commanding position
Explosive Half-Century
Jansen contributed a blistering 75 runs from just 59 deliveries, notching his third ODI half-century. His innings included four massive sixes that cleared the boundary with ease. This late-order surge propelled South Africa to a formidable total of 297/8 at the end of 50 overs.
- Jansen contributing a blistering 75 runs from 59 deliveries
- Third ODI half-century featuring four massive sixes
- Propelling South Africa to a formidable total of 297/8
Australian Chase Falters in Durban
Chasing 297 under lights at Kingsmead required a composed top-order partnership and sensible pacing from the Australian batting lineup. However, the visitors never truly found their rhythm against a varied and aggressive South African bowling attack that utilized home conditions expertly.
Early Setbacks in the Powerplay
South Africa’s opening bowlers maintained tight lines, restricting easy boundaries and forcing the Australian openers into playing high-risk strokes. The scoreboard pressure mounted steadily, resulting in soft dismissals during the first ten overs. The required run rate climbed out of reach as regular wickets fell.
- South Africa’s opening bowlers maintaining tight lines
- Forcing high-risk strokes and achieving soft dismissals
- Required run rate climbing out of reach
Middle-Order Resistance Fails
Despite brief flashes of resistance from the middle order, partnerships failed to materialize into substantial totals. The spinners and medium-pacers maintained pressure by drying up the runs and picking up crucial wickets at regular intervals. Australia’s lower order lacked the depth required to pull off a successful rescue mission.
- Lack of substantial partnerships in the middle order
- Spinners and medium-pacers drying up the runs
- Absence of lower-order depth to complete a rescue mission
Decisive Turning Points in the Match
Every ODI features critical junctures that swing the probability of victory toward one side. In this encounter at Kingsmead, two major phases dictated the final outcome and sealed the fate of the fixture.
- The 107-run recovery stand changing the game’s complexion
- Clinical bowling execution and zero loose deliveries
- Sharp fielding and energetic ground defense
Match Summary Statistics
The comparative table below outlines the key metrics from the first ODI encounter at Kingsmead Stadium.
| Metric | South Africa | Australia |
|---|---|---|
| Total Score | 297/8 (50 Overs) | 230 All Out |
| Top Scorer | Matthew Breetzke (112) | Not Available |
| Best Bowling | Not Specified | Nathan Ellis (3/57) |
| Key Partnership | 107 Runs (6th Wicket) | None |
| Result | Won by 67 Runs | Lost |
Implications for the Remainder of the Series
With a 1-0 lead secured, South Africa holds all the momentum heading into the second match of the series. The discovery of lower-order depth through Marco Jansen and the stellar form of Matthew Breetzke provide the team management with tactical flexibility.
- South Africa gaining tactical flexibility through lower-order depth
- Australia needing urgent solutions for death-over containment
- Strategies to counter middle-order resilience in upcoming matches
Frequently Asked Questions
What was the final score of the first ODI between South Africa and Australia?
South Africa scored 297/8 in their 50 overs, while Australia was bowled out for 230 runs, giving South Africa a 67-run victory.
Where was the first ODI played?
The match took place at Kingsmead Stadium in Durban, South Africa.
Who scored a century for South Africa?
Matthew Breetzke scored 112 runs from 106 balls, marking his second ODI century.
Who was Australia’s best bowler in the match?
Nathan Ellis was Australia’s top bowler, finishing with figures of 3 for 57.