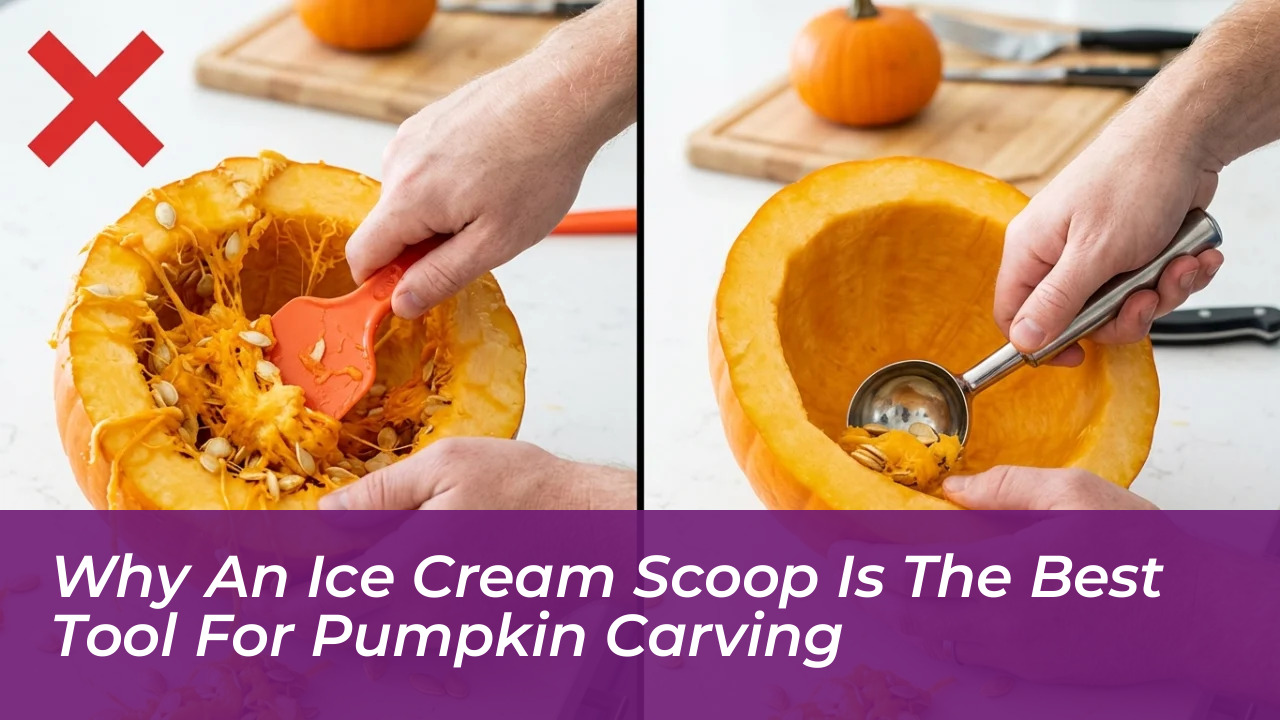

Every autumn across the United States, grocery store aisles fill with mass-produced pumpkin carving sets featuring pattern booklets, miniature saws, and plastic scrapers. While convenient, the delicate saws frequently bend or snap under the pressure of dense pumpkin flesh, turning an annual holiday craft into a frustrating chore. The solution does not require purchasing high-end specialty equipment. Instead, the most efficient tool is already sitting inside your kitchen utensil drawer, ready to tackle the toughest part of seasonal prep.
Using a standard ice cream scoop to hollow out a pumpkin and thin the internal walls down to 3/4 to 1 inch thick dramatically cuts preparation time and prevents flimsy store-bought carving saws from snapping mid-design. By repurposing this everyday kitchen utensil, you bypass the bendable plastic scoops found in commercial kits and gain the rigid leverage required to remove dense pulp in seconds.
The Structural Flaw in Standard Carving Kits
Standard grocery store carving sets rely on miniature serrated plastic scoops designed to clear out seeds. However, these tools lack the structural firmness needed to scrape down thick pumpkin walls effectively. When the inner rind remains thick and fibrous, standard mini saws encounter immense resistance.
Pushing a thin, flexible blade through several inches of dense gourd tissue creates high friction, which causes the blade to bind, bend, and ultimately break. A common mistake in practice is attempting to carve intricate patterns directly through thick, unthinned pumpkin walls, which places excessive torque on miniature blades. Thinning the inner flesh directly behind your chosen stencil resolves this mechanical bottleneck. Reducing the wall depth ensures that small saw blades glide smoothly along detailed outlines without catching on dense fibrous pulp.
How the Edge of an Ice Cream Scoop Solves the Problem
The firm, reinforced rim of an ice cream scoop is built specifically to cut through hard, dense materials under direct hand pressure. That same rigidity provides superior scraping power against the fibrous interior of a fresh pumpkin. While you need to apply firm pressure, the ergonomic grip and durable metal construction of an ice cream scoop make scraping clean, controlled cuts far simpler than using serrated plastic scrapers.
Once Halloween passes, the scoop immediately returns to routine duty for cookie dough and frozen desserts without cluttering storage drawers with single-use gadgets.
A Practical Comparison of Carving Tools
- Plastic Kit Scraper: Flexible edges often bend against dense interior walls, leading to hand strain and incomplete pulp removal.
- Standard Ice Cream Scoop: Rigid frame allows leverage to thin walls efficiently down to 3/4 to 1 inch thick, protecting detail saws.
Step-by-Step Method for Prepping and Carving
Achieving clean lines and smooth cuts requires a simple, methodical sequence from opening the gourd to the final incision:
- Transfer the design: Outline your chosen stencil onto the front surface of the pumpkin before making any cuts.
- Cut the lid: Use a sturdy kitchen chef’s knife to slice an opening cleanly around the pumpkin stem at an angle.
- Remove the seeds and loose pulp: Wearing protective gloves, pull out the interior mass by hand, setting aside the seeds for roasting.
- Scrape the inner face: Take the ice cream scoop and scrape the interior side directly behind your transferred design until the rind reaches 3/4 to 1 inch thick.
- Carve the outline: Switch to your detail saws to cut along your pattern, enjoying smooth strokes through the thinned pumpkin flesh.
Focusing your scraping efforts only on the specific wall area where your design sits saves physical energy while preserving the overall structural integrity of the pumpkin.
Tips for Maximizing Your Kitchen Tools This Fall
Check your kitchen drawers before buying extra seasonal gear this fall. Thinning internal pumpkin walls down to 1 inch or less is the key to preventing snapped blades. Not only does this technique save money on replacement carving kits, but it also transforms a frustrating chore into a seamless holiday tradition.
What kitchen tools do you rely on for autumn crafts? Share your favorite carving hacks and experiences in the comments below.
Frequently Asked Questions About Pumpkin Carving Scoops
Why do store-bought pumpkin carving saws break so easily?
Miniature saws included in commercial kits are thin and flexible. When forced to cut through thick, unthinned pumpkin walls, the dense fibrous tissue creates high friction that causes the blades to bind, bend, and snap.
How thick should pumpkin walls be before carving?
You should scrape the interior walls down to approximately 3/4 of an inch to 1 inch thick, particularly directly behind your transferred stencil pattern, to ensure smooth sawing.
Can an ice cream scoop damage a pumpkin?
No, a standard metal ice cream scoop is robust enough to handle the tough interior fibers without damaging the structural exterior, provided you use controlled pressure.
Is it necessary to thin the entire inside of the pumpkin?
No, you only need to focus your scraping efforts on the specific wall area where your carved design will sit, which saves physical energy and preserves overall structural stability.
What should I do with the pumpkin seeds after scraping?
Rinse away the pulp, pat the seeds dry, toss them with oil and your favorite seasonings, and roast them in the oven for a delicious autumn snack.