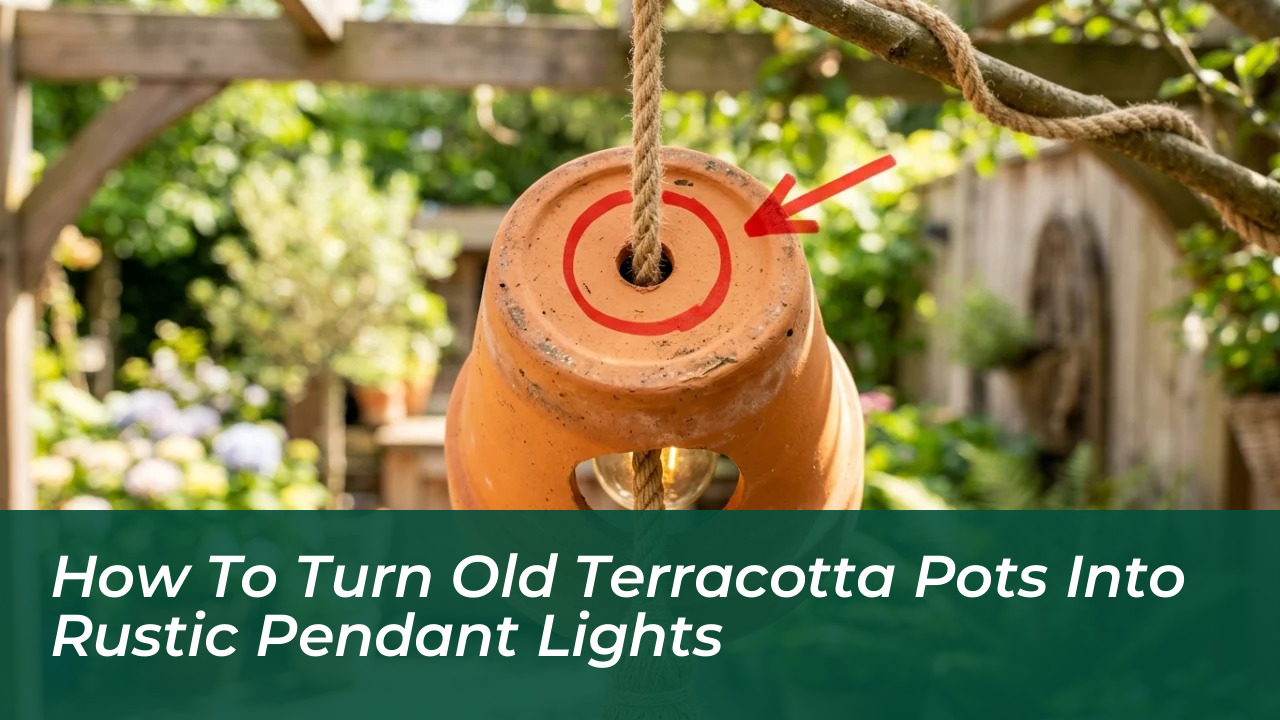

If your garden shed or garage contains a forgotten stack of old clay planters, you can easily repurpose them into charming outdoor fixtures. Popularized by outdoor decor creator Silvia Hart, transforming standard earthenware into suspended mood lighting instantly warms up backyard gatherings without requiring an electrician or specialized wiring skills. This straightforward upcycling project reclaims aged clay containers, converting them into natural downlight shades that bring an earthy, rustic aesthetic to any patio, porch, or pergola.
Essential Supplies for the Terracotta Light Project
Before assembling your hanging lantern, gather your supplies from leftover landscaping bins or your local home improvement center. Using components sized appropriately to your container ensures that the interior wiring remains invisible from the outside while supporting the weight of the fired clay.
- Terracotta pot: A clean small or medium planter (typically measuring 3 to 6 inches) containing a standard base drainage hole.
- Suspension line: Approximately several feet of heavy-duty twisted jute rope (ranging from 5/16-inch to 1/2-inch thickness).
- Internal illumination: A strand of battery-operated fairy lights or a portable outdoor LED light bulb.
- Wire mesh: A scrap piece of chicken wire trimmed slightly wider than the rim of the pot.
A common mistake is using light fixtures intended for indoor use without considering damp outdoor conditions. Sticking to battery-operated components keeps the installation completely portable and free from outdoor electrical hazards.
Required Materials at a Glance
| Component | Primary Function |
|---|---|
| Terracotta Planter | Acts as the natural clay pendant shade and housing |
| Jute Rope | Carries the weight of the fired clay fixture securely |
| Chicken Wire | Holds the battery pack and light strand inside the rim |
| Battery Fairy Lights | Provides soft, non-glare ambient backyard illumination |
How to Assemble Your Upcycled Garden Pendant
Constructing the fixture requires no specialized wiring skills. The natural drainage opening at the base of the container serves as an integrated channel for the suspension cord, eliminating the need to drill into brittle fired clay.
- Thread the suspension cord: Take your heavy-duty jute rope, fold it into a loop, and pass both free ends downward through the drainage hole from the outside of the pot base.
- Anchor the support: Tie a thick, tight knot with the free rope ends inside the container cavity to prevent the rope from pulling back through the hole. Ensure this knot is secure enough to carry the weight of the clay.
- Insert the lighting element: Coil your battery-operated string lights and place them carefully into the interior cavity of the inverted pot.
- Secure the core: Compress the trimmed chicken wire slightly and push it into the opening behind the lights, expanding it against the internal terracotta walls to lock the bulbs and battery pack in place.
Because fired earthenware is considerably heavier than standard plastic patio lanterns, always secure your finished rope loop to a reliable load-bearing surface such as an overhead pergola beam, a sturdy porch ceiling hook, or a strong tree limb.
Addressing Ambient Glow vs. Task Lighting
A frequent misconception regarding this DIY fixture is that an inverted planter packed with miniature fairy lights can double as functional task lighting. In practice, dense earthenware completely blocks horizontal light distribution, focusing a delicate, low-lumen glow strictly downward through the mouth of the vessel. This makes it an ideal choice for creating an enchanted, relaxing atmosphere after sunset rather than lighting up a workspace.
If you require direct illumination for reading or outdoor dining tables, swap the delicate light strand for a battery-operated closet puck or a portable waterproof outdoor LED bulb equipped with an integrated hanging hook. For a more contemporary aesthetic rather than rustic terracotta, wash the clay surface thoroughly to remove loose dirt, and apply outdoor-rated chalk paint or substitute a glazed ceramic planter.
Frequently Asked Questions
Can I drill a larger hole in a terracotta pot for thicker cords?
Yes. If you prefer to use a standard ceiling cord set rather than jute rope, you can soak the bottom of the pot in water for an hour, then use a conical rasp bit or a Dremel tile-cutting bit to carefully enlarge the drainage hole.
Are these terracotta pendant lights weatherproof?
Terracotta is porous and absorbs moisture, but the clay itself handles outdoor weather well. However, because you are using battery-operated lights and chicken wire, it is best to protect the battery pack from heavy rain or bring the fixtures indoors during severe storms.
What size pot works best for hanging lights?
Small to medium pots measuring between 3 and 6 inches in diameter work best. They provide enough internal space for string lights without being overly heavy for tree branches or light-duty ceiling hooks.
How do I prevent the rope knot from slipping through the drainage hole?
Tie a very thick, multi-layered knot or place a small square of sturdy washers or mesh above the knot inside the pot to distribute the weight across a wider surface area than the hole itself.
Can I paint the outside of the terracotta pot?
Absolutely. Cleaning the pot thoroughly and applying outdoor acrylic paint or chalk paint allows you to match your patio furniture, add colorful geometric patterns, or give the pendant a sleek, modern finish.