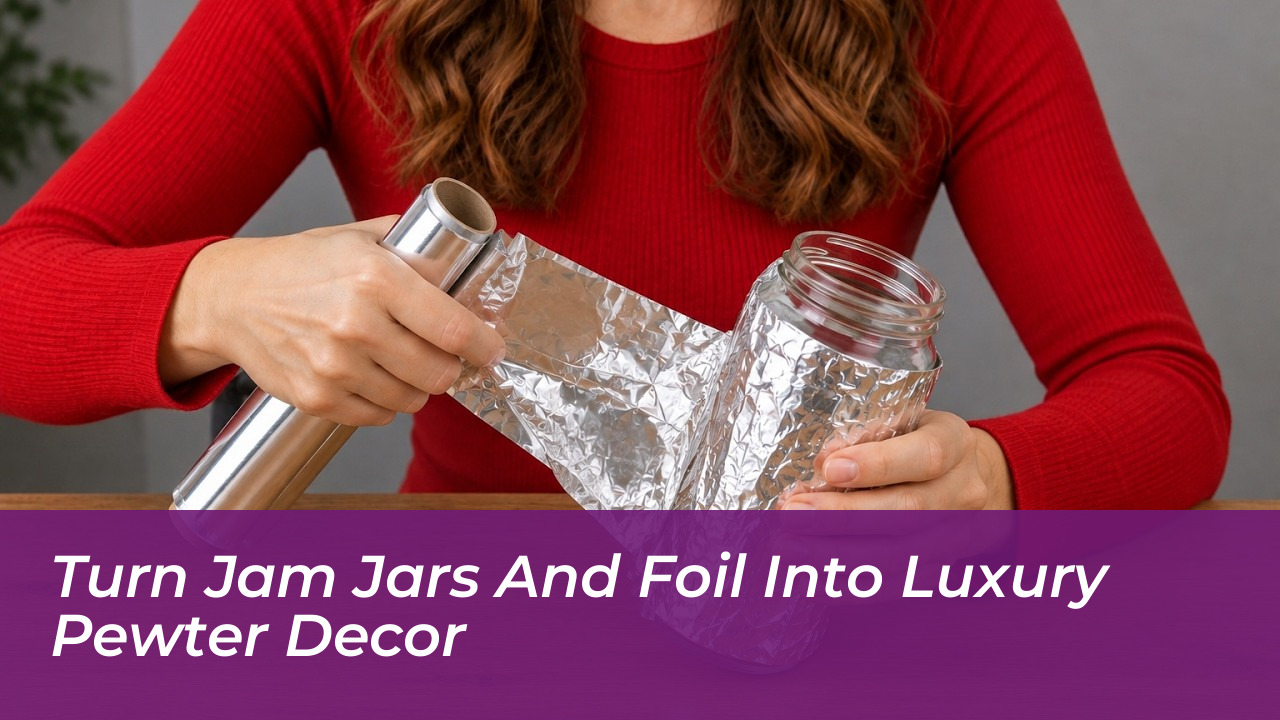

Two humble household throwaways destined for the council recycling bin-a sheet of ordinary kitchen foil and an empty glass jam jar-can be converted into a bespoke, antique-style embossed pewter lantern in under an hour. By using standard household foil, water-based glue, and a dark acrylic wash, crafters can produce convincing faux-repoussé metal vessels without specialist metalsmithing tools. With interior trends continuing to champion tactile, vintage-inspired metalwork, repurposing domestic packaging offers both an economical design solution and a way to minimise domestic waste.
The Science Behind Foil Embossing at Home
The transformation hinges on the mechanical behaviour of light-gauge aluminium sheeting. Standard kitchen foil measures roughly 0.016 millimetres in thickness. This provides enough malleability to capture delicate raised textures while retaining structural integrity once adhered to a solid substrate like glass. When pressed over raised base patterns-created with hot glue, thick cord, or die-cut cardboard-the foil conforms precisely to the contours underneath.
This process recreates the traditional French technique known as repoussé, an ornamental metalworking method historically used to decorate armour and fine silverware. Because glass offers a non-porous, rigid foundation, it prevents the delicate foil from puncturing during the burnishing phase, yielding a smooth, ceramic-like weight once the piece dries.
Essential Materials You Need to Gather
You do not need costly art supplies to achieve a striking finish. Most required items already reside in standard British kitchens and utility cupboards:
- Empty glass jar: A thoroughly cleaned jam, pickle, or pasta sauce jar with the paper label completely soaked off.
- Aluminium kitchen foil: Standard domestic roll. Heavy-duty foil works well, but regular kitchen foil conforms more cleanly to intricate details.
- Adhesive: Standard PVA glue, decoupage medium, or an ordinary glue stick.
- Raised relief medium: A low-temperature hot glue gun, thick jute twine, or pre-cut card shapes to form the decorative motif.
- Black acrylic paint or dark shoe polish: Used to age the bright silver metal into an authentic aged-pewter patina.
- Cotton swabs and paper towel: For blending and lifting away excess paint during distressing.
Step-by-Step: Turning Plain Glass Into Aged Pewter
The assembly relies on patience and gentle pressure rather than complex craft skills. Following a precise sequence ensures professional results every time.
1. Preparing the Raised Surface Relief
Ensure the glass jar is degreased using warm soapy water and dried completely. Using a hot glue gun or textured twine, trace your chosen pattern onto the exterior glass surface. Victorian scrollwork, geometric bands, or botanical vines work particularly well. Allow this raised outline to harden completely before proceeding.
2. Adhering and Burnishing the Metal Skin
Apply an even coat of PVA glue directly across the decorated jar, ensuring the adhesive covers both the raised ridges and the flat glass recesses. Cut a sheet of foil slightly larger than the jar’s circumference. Gently wrap the foil around the vessel, matte side down, leaving the shinier surface exposed. Using your fingertips or a soft cotton swab, carefully smooth the foil into the recesses between the raised lines. Avoid using sharp nails or rigid plastic tools, which will tear the delicate sheet.
3. Forging the Antique Patina
Fresh aluminium carries an intense modern shine that belies its vintage potential. To replicate weathered pewter or tarnished sterling silver, apply a thin coat of matte black acrylic paint across the entire foiled exterior. Wait thirty to sixty seconds until the paint begins to turn tacky, then gently dab the surface with a damp cloth or paper towel. The paint will wipe clean from the high-relief ridges while remaining trapped in the crevices, creating deep contrast and immediate antique depth.
Practical Uses and Display Ideas
Once dried and sealed with a light mist of clear acrylic sealant, your finished aluminium foil craft piece serves multiple functional purposes around the home:
- Ambient Mood Lighting: Place a battery-operated LED tealight inside. The light filters upward through the open rim while reflecting subtly off the burnished foil interior.
- Desktop Organiser: Use tall jars to store pens, paintbrushes, or makeup brushes in a stylish, uniform aesthetic.
- Table Centrepieces: Cluster jars of varying heights filled with dried lavender or eucalyptus for an organic country-house display.
Safety Note: While glass is naturally heat-resistant, standard kitchen adhesives and acrylic paints can release unpleasant fumes if exposed to direct flame. Always choose flame-free LED tealights or fairy lights rather than wax candles inside painted or glued vessels.
By blending common pantry items with basic upcycling techniques, you divert usable glass packaging away from municipal waste streams while creating high-end decorative pieces at negligible cost. Whether you are crafting for seasonal holidays or updating your year-round shelf decor, this simple kitchen trick proves that luxury aesthetics do not require a luxury budget.