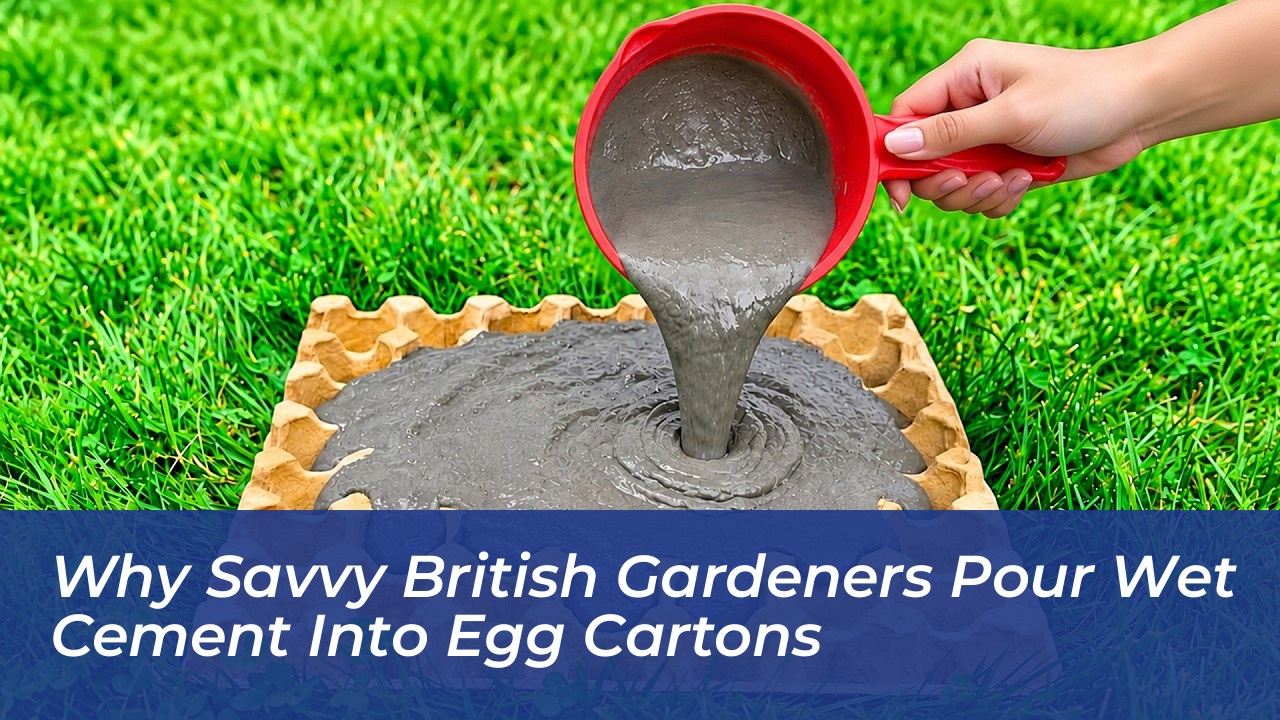

Pouring a standard sand-and-cement mix directly into discarded egg trays transforms flimsy kitchen waste into rugged, weather-resistant stone planters at a fraction of high-street retail costs. This budget-friendly upcycling technique uses the unique structural geometry of moulded paper pulp. Everyday packaging serves as an expendable casting mould to produce rustic containers for outdoor greenery. With domestic garden centres charging premium rates for decorative stoneware, repurposing disposable packaging has quickly evolved into an ingenious way to furnish patios on a shoestring budget. Instead of sending cardboard cartons straight out for municipal recycling, garden enthusiasts are discovering that their dimpled, shock-absorbing design creates an ideal textured relief for fast-setting mortar.
The Structural Secret Hidden Inside Cardboard Egg Trays
Cardboard egg trays manufactured across the UK consist of dense, compressed paper pulp engineered to cushion delicate shells against high-impact movement. When wet mortar is pressed into these compartments, the pulp absorbs excess surface moisture from the outer layer of the mix. This creates a matte, stone-like texture rather than the glassy, slick sheen typical of plastic moulds. The resulting modular recesses give cast concrete an organic, honeycomb profile reminiscent of carved tufa stone or aged architectural masonry.
Unlike rigid plastic containers, pulped cardboard softens as it dampens. This pliability makes demoulding straightforward. After the mix cures, the cardboard peels away cleanly or dissolves under a garden hose, completely eliminating the struggle of prying hard concrete out of stiff containers.
Achieving the Correct Mortar Consistency for Cement Egg Cartons
Success depends heavily on the ratio of your mixture. An overly wet, runny slurry will rapidly turn the cardboard soggy and cause the mould to buckle under the weight before the cement can set properly. For durable garden containers that survive biting British winters, seasoned makers rely on a distinct balance of materials:
- General-purpose cement and fine builder’s sand: Blend one part cement powder to two parts dry sand for a fine, durable finish that captures every ridge.
- Controlled water hydration: Add clean tap water gradually until the mixture resembles stiff cookie dough or thick cottage cheese, holding its shape without sagging.
- Inner vessel placement: Insert a smaller disposable plastic pot, tin can, or drinking cup into the centre of the mortar mass to create the internal planting chamber.
- Optional horticultural perlite: Replace half the sand volume with perlite or vermiculite to create an ultra-lightweight hypertufa vessel with superior frost resistance.
The accompanying visual demonstration illustrates this exact layering technique in practice, confirming how steady, controlled tamping drives out unwanted air pockets.
Protecting Your Hands and Respiratory Health
Working with dry cement requires sensible precautions. The UK Health and Safety Executive (HSE) continually warns that wet cement is highly alkaline and can cause severe chemical skin burns, alongside painful dermatitis if handled without protection. Always mix dry ingredients outdoors or in a well-ventilated workshop. Wear an FFP2-rated dust mask, eye protection, and heavy-duty nitrile or rubber gloves. Never knead or smooth wet concrete with bare hands.
Curing and Weatherproofing for Damp UK Climates
Patience during the hydration phase determines whether your finished planter lasts for years or crumbles during the first frosty morning. Premature drying weakens the chemical bond of Portland cement, causing fine spiderweb fractures throughout the walls. Once filled, wrap the entire egg carton assembly inside an ordinary plastic carrier bag. Leave it undisturbed in a cool shed or garage for at least 48 to 72 hours. This sealed humid microclimate prevents moisture loss, ensuring maximum compressive strength.
After three days, soak the outer cardboard thoroughly with warm water. Peel away the softened paper pulp to unveil the raw, textured concrete core underneath. Because cured concrete naturally leaches alkaline lime into the surrounding soil, allow the vessel to sit in a bucket of fresh water for another week to neutralise the surface pH before adding potting compost. A quick pass with a 6mm masonry drill bit through the base ensures vital drainage, preventing outdoor plants from developing waterlogged roots during persistent autumn rainfall.
Before you haul another bundle of packaging to the kerbside recycling bin, take a closer look at its geometric potential. Simple everyday items, from egg trays to cut-down milk jugs, provide free, endlessly adaptable forms for bespoke garden projects. With a single bag of mortar mix, you can easily produce a dozen characterful patio accents tailored exactly to your personal outdoor space.