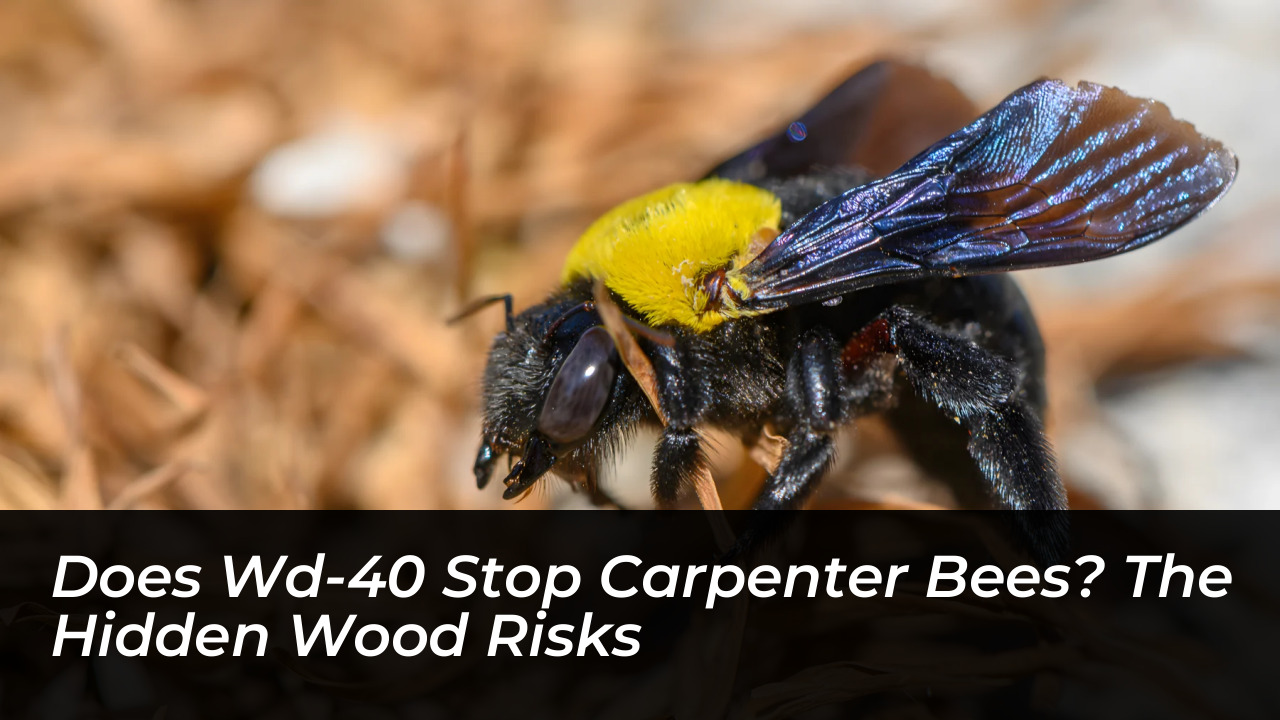
Spraying WD-40 for carpenter bees can knock down an active insect on contact by clogging its breathing spiracles. However, relying on this household lubricant as a permanent pest control fix can damage exterior lumber and leave structural tunnels completely exposed. While the petroleum spray acts as an immediate contact knockdown, the fumes evaporate quickly, allowing returning females to reinvade untreated galleries.
Homeowners frequently reach for the familiar blue-and-yellow aerosol when commercial wood-boring insecticides run out. The petroleum base penetrates raw lumber, temporarily discouraging new drilling attempts in high-traffic landing areas. Yet treating only the surface solves less than half the problem, because unsealed entrance holes remain prime real estate for future generations of tunnel-boring pests.
The Mechanics of Using Lubricant Sprays Against Wood Borers
The biological impact of WD-40 relies strictly on physical smothering rather than traditional residual chemical toxicity. Insects breathe through lateral body openings called spiracles. A direct burst of pressurized petroleum oil coats their exterior shell, cutting off oxygen delivery almost immediately.
A widespread misconception is that saturating an active entrance hole with an aerosol straw will wipe out an entire colony deep inside the wood. In reality, carpenter bee tunnels turn sharply at right angles. This creates interior chambers where hidden larvae remain protected from standard surface sprays.
Spraying volatile aerosol solvents directly into blind tunnel openings rarely reaches developing larvae and frequently provokes adult females into defending the nest. Because the solvent dries rapidly, the treated timber loses its defensive scent within days. This fundamental limitation creates a false sense of security for homeowners dealing with structural drilling.
Treatment Effectiveness Breakdown
- Target Mechanism: Clogs external spiracles to suffocate individual bees on contact.
- Larval Elimination: Unproven; spray rarely penetrates deep interior gallery turns.
- Residual Deterrence: Temporary; fades completely once petroleum fumes evaporate.
- Structural Repair: Zero; leaves bored tunnels open to secondary infestation.
- Wood Compatibility: Stains unsealed grain and repels exterior paints or caulks.
Proper Methods for Managing Carpenter Bees and Nest Holes
Targeting hovering adults requires precise timing to minimize chemical exposure and defensive bee reactions. Carpenter bees are significantly less active during the cool hours of early morning or late dusk, making these windows optimal for exterior treatment.
Anyone treating outdoor wood should wear eye protection, safety gloves, and long sleeves to prevent falling chemical droplets, especially when spraying overhead soffits, fascia boards, or porch rafters. A quick, targeted burst applied directly to individual flying bees will neutralize them without requiring excessive spraying across building materials.
Step-by-Step Tunnel Restoration and Prevention
Knocking down active insects is ineffective unless the physical gallery is cleaned, plugged, and sealed against returning foragers. Follow these practical steps to permanently close entrance holes:
- Confirm the nest is vacant by monitoring the entry hole during active daylight hours before sealing the opening.
- Pack the interior cavity tightly with rust-proof copper mesh or dense brass wool to block returning borers.
- Insert a properly measured wooden dowel coated in waterproof exterior wood glue directly into the entrance.
- Fill remaining surface voids with premium exterior wood filler until flush with the siding or trim.
- Allow the filler to cure thoroughly, sand the patch flat, and apply a fresh coat of outdoor primer and paint to eliminate exposed raw wood.
Fire Hazards and Finish Failures Homeowners Overlook
Using pressurized petroleum sprays around residential buildings introduces acute property risks that dedicated wood treatments avoid. WD-40 contains flammable propellant components. These present serious ignition hazards when sprayed near outdoor electrical outlets, air conditioning compressors, or exterior light fixtures.
The solvent also presents long-term challenges for exterior finishes. Deeply penetrating oils saturate the grain of unsealed lumber, creating dark surface blemishes that resist standard adhesion. When applying exterior paint, acrylic caulk, or wood filler over treated lumber, the residual slick barrier will cause the finish to peel or bubble unless the wood is thoroughly scrubbed and sanded down to bare timber first.
Check exposed wood trim, decks, and shed rafters early in the spring before nesting activity accelerates across your property. Always prioritize mechanical sealing with metal mesh and wooden dowels rather than depending solely on temporary aerosol deterrents.
Frequently Asked Questions About WD-40 and Carpenter Bees
Does WD-40 actually kill carpenter bees?
Yes, WD-40 kills carpenter bees on contact by coating their respiratory spiracles in petroleum oil, which suffocates them within minutes. However, it functions only as a contact spray and lacks lasting residual toxicity.
Can WD-40 prevent carpenter bees from drilling into wood?
Only temporarily. The strong petroleum scent and oily residue discourage bees for a few hours or days. Once the volatile solvents evaporate, the deterrent effect vanishes entirely.
Is it safe to spray WD-40 on painted or stained wood?
No. WD-40 contains petroleum distillates that can stain unsealed wood grain, break down existing finishes, and leave a slick residue that causes future paint, caulk, or wood filler to bubble and peel.
What is the safest alternative to WD-40 for carpenter bees?
Borate-based dusts, such as disodium octaborate tetrahydrate, or EPA-registered pyrethroid aerosols applied directly into tunnels offer superior, long-lasting control compared to household lubricants.
How should I permanently seal carpenter bee holes after treatment?
Once you confirm the nest is vacant, pack the gallery with copper mesh. Insert a wood dowel coated in waterproof glue, fill any surface gaps with wood filler, sand it smooth, and paint over the area.