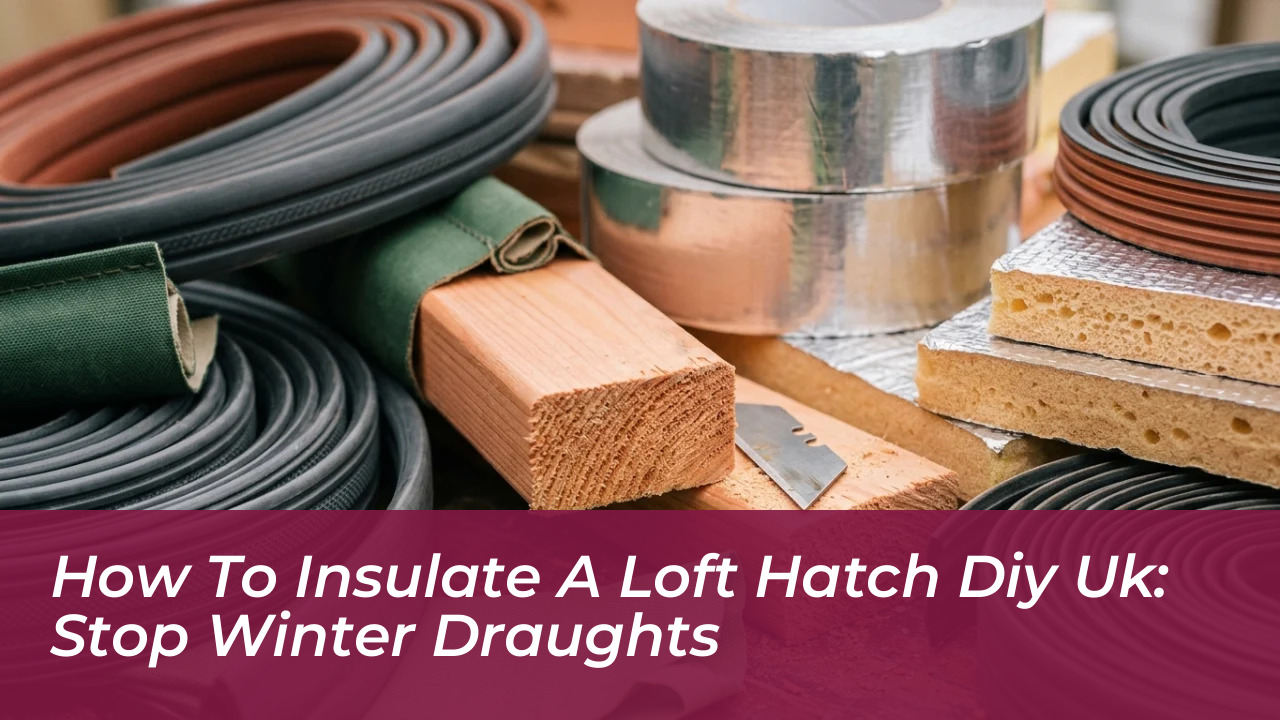

A draughty attic trapdoor behaves precisely like an open chimney. It silently syphons expensive central heating directly through your upper ceiling and dumps it into the freezing roof space. Tackling how to insulate a loft hatch DIY UK homeowners frequently discover is one of the quickest, highest-yield thermal improvements available. It requires nothing more than a scrap piece of rigid insulation board, heavy-duty draught-proofing tape, and under an hour of simple bench work.
Warm air naturally rises through the physics of the stack effect, pressurising the top floor of a British home. When that buoyant air encounters an uninsulated, ill-fitting piece of plywood or plastic, it slips straight through the perimeter gaps, cooling your hallway and driving up energy consumption. According to the Energy Saving Trust, proper draught-proofing and ceiling-level thermal barriers represent foundational steps in locking warmth inside older housing stock. Resolving the issue does not require an expensive specialist carpenter, provided you follow a methodical sequence to seal both the door panel and the perimeter frame.
The Anatomy of the Trapdoor: Why Standard Hatches Leak So Much Heat
Most British properties feature one of two hatch styles: a push-up board resting loosely on timber mouldings, or a hinged swing-down door secured with a simple turn-latch. Both designs present dual vulnerabilities that must be addressed simultaneously: conduction through the thin panel itself, and convection around the unsealed perimeter.
Even if an attic floor carries 270 millimetres of thick mineral wool, leaving the trapdoor bare leaves a gaping thermal bridge. That uninsulated square patch creates a cold spot on your landing ceiling, frequently attracting condensation, dust marks, and black mould spores over damp winter months. To eliminate these issues, a complete DIY upgrade combines high-performance thermal backing with continuous, airtight compression seals around the perimeter frame.
Essential Materials and Tools for the Job
You do not need specialised trade machinery to carry out this retrofit. Most components can be sourced from any standard builders’ merchant or home improvement store across the UK.
- Rigid insulation board: Polyisocyanurate (PIR) foam boards-such as Celotex or Kingspan-offer superior thermal resistance at thinner depths. Aim for a thickness between 50mm and 100mm.
- Aluminium foil sealing tape: Used to bind exposed foam edges, prevent loose particles, and reflect radiant heat back into the property.
- Self-adhesive compression weatherstrip: Heavy-duty EPDM rubber, silicone, or closed-cell foam draught strip works far better than cheap, open-cell foam tape.
- Mechanical fixings or grab adhesive: Solvent-free construction adhesive or wide-washer timber screws to attach the insulation securely to the panel.
- Hand tools: A retractable utility knife, a fine-toothed hand saw, a tape measure, and a clean cloth for surface preparation.
Step-by-Step Execution: Fitting Your Thermal Barrier
Before cutting any materials, climb a secure stepladder, push the hatch open, and inspect the clearance. You must ensure that adding several inches of foam to the upper surface will not foul roof trusses, joists, or an existing pull-down loft ladder mechanism.
Step 1: Measure and Cut the Board
Remove the hatch panel completely and lay it flat across a sturdy workbench or floor space. Measure the top surface dimensions carefully, allowing a clearance of roughly 10mm to 15mm from each edge so the insulation does not snag against the ceiling joists when lifting or dropping into place. Score the foil facings of your PIR board with a utility knife against a straight edge, then cut cleanly through the core using a fine-toothed saw. Always wear a dust mask and protective glasses during cutting to avoid inhaling fine foam particles.
Step 2: Seal the Insulation Edges
Raw foam edges can crumble over time as luggage, seasonal decorations, or toolboxes brush past them in the attic. Wrap all cut edges of your PIR board in heavy-duty aluminium foil tape, smoothing the edges flat to create an impermeable moisture barrier.
Step 3: Secure the Core to the Hatch
Bond the foil-wrapped board firmly to the upper face of your hatch. If using a high-tack construction adhesive, ensure it is solvent-free so the chemicals do not dissolve the foam backing. For hinged hatches that swing down into the room, mechanical fasteners provide essential long-term security. Drive short timber screws through broad penny washers directly through the foam and into the timber backing board, anchoring the mass so gravity cannot pull it loose over time.
Draught-Proofing the Frame: Stopping Air Leakage
Insulation board alone stops conducted heat loss, but moving air will still escape around the margins unless you install an unbroken seal. Air leakage typically accounts for the majority of uncomfortable landing draughts.
- Thoroughly clean the rebate: Wipe down the timber stops or plastic lip on which the hatch sits using a degreasing cleaner or methylated spirits. Adhesive tape will peel away quickly if applied over dust and flaking paint.
- Apply continuous compression strips: Stick your rubber or silicone draught-proofing strip along the frame stops. Make sure the strip meets neatly at the four corners without leaving gaps or overlapping into thick bunches.
- Ensure firm compression: For push-up hatches, check that the weight of the insulated board presses down firmly against the seal. If the door is lightweight ply, screw small timber blocks or weights to the top to compress the gasket.
- Adjust the catch: For hinged trapdoors, adjust or replace the latch so that turning it draws the door tightly against the weatherstrip, producing a firm, continuous squash around the entire perimeter.
If you have an integrated folding loft ladder, fit a bespoke insulated draught tent or zippered thermal cover directly over the ladder casing inside the attic space. This encloses the entire mechanical frame without interfering with the ladder’s hinge travel.
Taking the time to insulate your attic opening turns a historic weak link into a tightly sealed shield, immediately steadying landing temperatures and keeping generated heat where it belongs.
Frequently Asked Questions
How thick should the insulation board be for a UK loft hatch?
For optimal thermal performance without adding excessive weight, a 50mm to 100mm Polyisocyanurate (PIR) board like Celotex or Kingspan is ideal. It provides exceptional insulation value at a relatively thin profile.
Will adding insulation make my push-up hatch too heavy?
PIR boards are remarkably lightweight. A standard 50mm board adds very little mass, meaning a push-up hatch will still lift easily into the roof space while benefiting from the extra downward gravity pressure to seal the draught strips.
Can I use expanding foam instead of a solid PIR board?
Expanding foam is messy, difficult to trim flush, and lacks the structural rigidity needed for a proper thermal barrier. A solid PIR board taped with aluminium foil tape is far cleaner, more durable, and thermally superior.
How do I stop draughts around a folding loft ladder?
Folding ladders create large gaps in ceilings. The best DIY fix is installing an insulated loft ladder cover or draught tent inside the attic space, which zips over the entire mechanism while remaining accessible.
Why is my landing ceiling grey or mouldy around the loft hatch?
This is caused by thermal bridging and warm, moist indoor air leaking through unsealed perimeter gaps and condensing against the cold surface of the uninsulated trapdoor. Insulating and draught-proofing eliminates this temperature differential.