
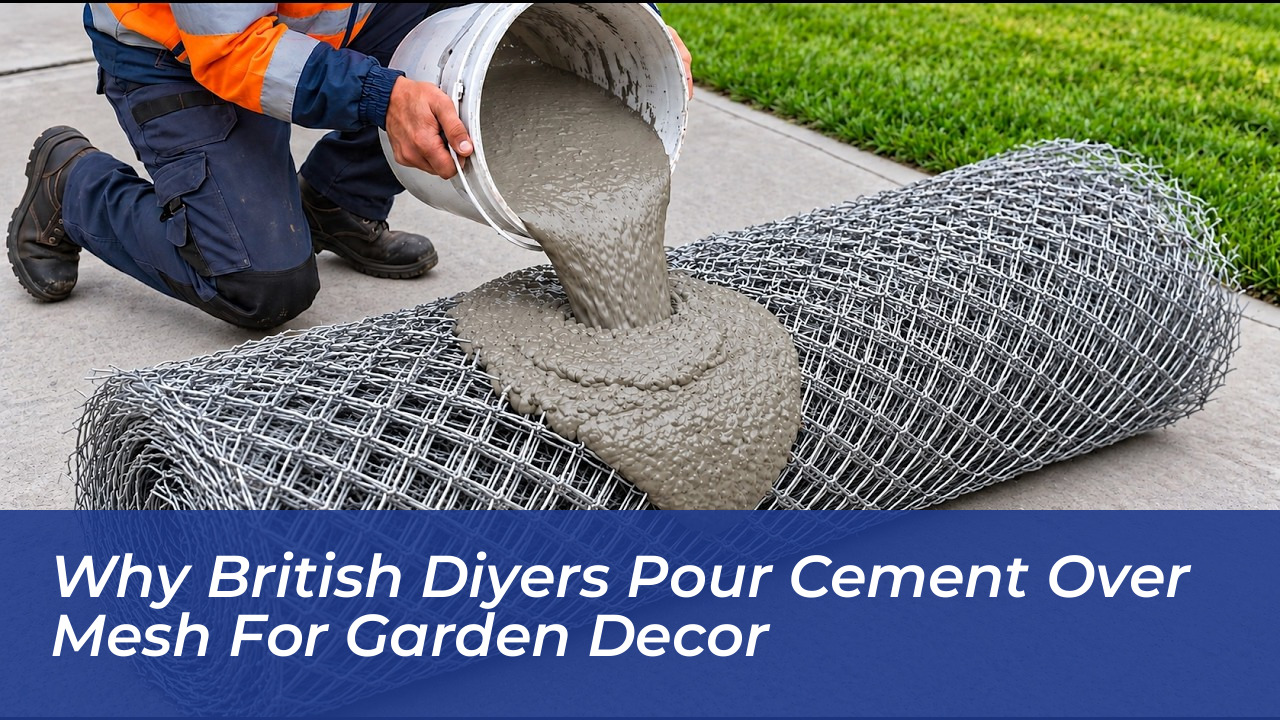

Layering wet cement mortar across shaped wire mesh forms a composite shell known as ferrocement. This ingenious technique allows home crafters to build durable, weather-resistant garden structures without expensive timber formwork. By combining the compressive strength of masonry with the tensile flexibility of steel grid, ordinary construction staples become shatter-proof planters, faux-stone borders, and bespoke architectural features.
While traditional masonry relies on heavy, flat moulds and substantial wall thickness to prevent fracturing, wire-reinforced mortar defies standard structural limitations. The steel mesh holds the wet mix firmly in suspension, allowing complete freedom to sculpt fluid curves and hollow volumes by hand. The practice has surged in popularity across the UK as homeowners seek affordable ways to modernise outdoor spaces against harsh British weather.
The Chemistry Behind the Metal and Mortar Bond
The synergy between cement and wire mesh relies on a fundamental engineering principle: cement resists being crushed, while steel resists being pulled apart. When wet mortar is forced through the tight apertures of a metal screen, it envelops the metal entirely, locking every strand into a monolithic grid.
Standard concrete often cracks when ground soils shift or moisture freezes during sudden winter cold snaps. Incorporating high-tensile mesh distributes surface stress evenly across the entire structure, eliminating the weak points where hairline fractures normally expand. Because the internal mesh provides the structural skeleton, you do not need thick, unwieldy walls. A cured shell as thin as two centimetres can effortlessly support substantial earth weight and resist heavy seasonal downpours.
Essential Safety Protocols Before Mixing
Working with dry cement powder and alkaline wet paste carries serious health risks that demand careful preparation before opening any bag. The Health and Safety Executive (HSE) explicitly warns that wet cement paste is strongly alkaline and can cause severe chemical burns and occupational dermatitis upon prolonged skin contact.
- Nitrile or heavy-duty rubber gloves: Standard fabric builder gloves absorb alkaline moisture and hold it against your skin, dramatically increasing burn risks.
- Impact-resistant safety goggles: Cutting tensioned wire mesh creates sharp offcuts that can recoil unpredictably toward your eyes.
- FFP2 or FFP3 dust mask: Breathing dry silica and cement dust during mixing poses acute respiratory hazards that simple cloth face coverings cannot prevent.
- Heavy snips and pliers: High-grade aviation tin snips prevent hand fatigue and deliver clean cuts on galvanised poultry wire or welded mesh.
Setting up your work zone on a secure, plastic-lined workbench ensures stray wire fragments and alkaline runoff do not contaminate garden soil or lawn turf.
Step-by-Step: Turning Wire and Sand into Bespoke Creations
Mastering this technique requires attention to mortar consistency. A mix that is too runny will simply slide through the holes and pool at the bottom.
Building the Armature and Packing the Matrix
Begin by cutting and bending your wire mesh into the desired shape. This could be an organic curved planter bowl, a garden plinth, or an ornamental cascade. Overlap your wire seams by at least five centimetres and bind them tightly using thin galvanised tie wire to ensure the framework cannot flex under load.
For the mortar paste, combine three parts sharp building sand with one part standard Portland cement. Add clean water gradually until you reach a stiff, workable consistency resembling damp clay. Online workshop demonstrations show this hands-on craft in practical execution, demonstrating how the mixture should cling effortlessly to vertical mesh without slumping.
Press the mortar firmly into the mesh from both sides, ensuring the steel is entirely encapsulated within the cement layer to protect it against rust. Smooth the outer face with a damp plastering sponge or carve decorative striations into the surface to mimic natural quarried stone.
Curing for Maximum Frost Resistance
The curing phase determines whether your creation lasts decades or disintegrates after its first frost. Cement does not dry out to gain strength. Instead, it undergoes a complex chemical hydration reaction that requires constant moisture over several days.
Cover the newly sculpted project with a heavy polythene sheet immediately after the initial set, and mist the surface thoroughly with water twice daily for at least five days. Curing the piece slowly in shaded, damp conditions prevents surface craze cracks and guarantees an impenetrable exterior capable of withstanding torrential British winters.
Ready to experiment with outdoor masonry? Repurposing scrap chicken wire and a single bag of cement is one of the most cost-effective ways to elevate your garden patio. Have you ever tried sculpting with reinforced mortar, or do you have a creative project planned for your garden this season? Share your thoughts, experiences, and project ideas in the comments below!


