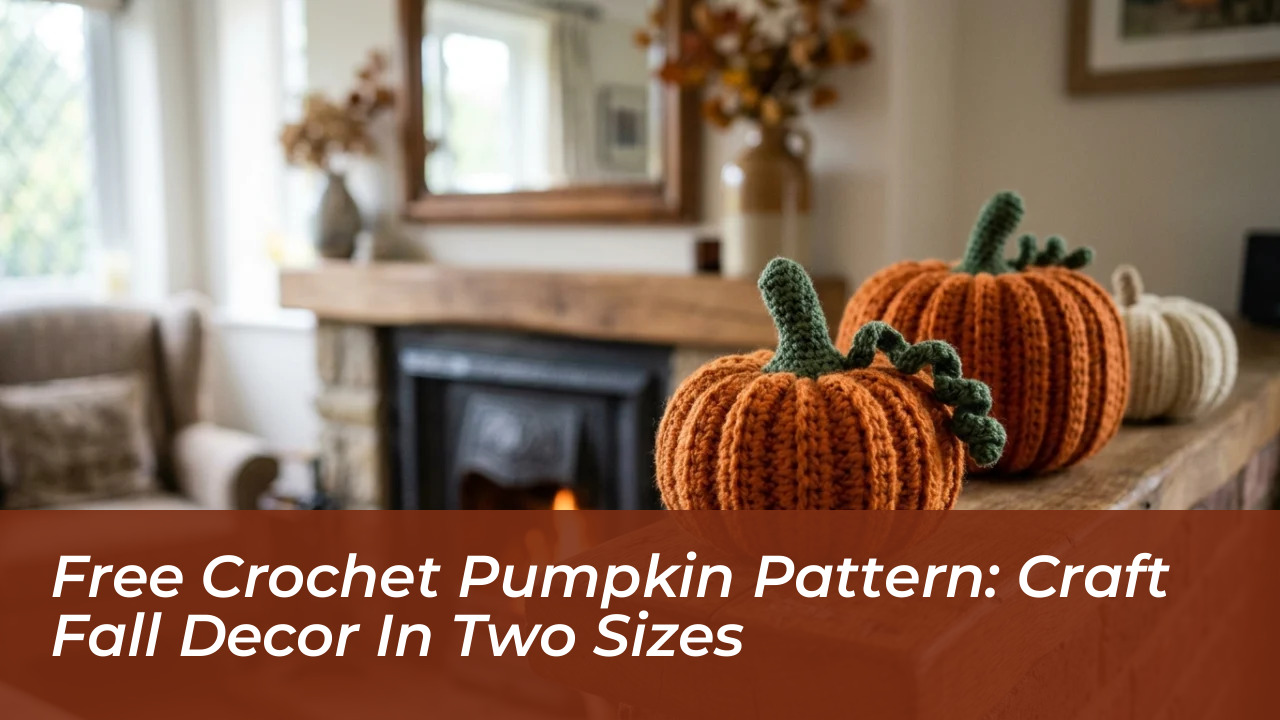

Creating handmade autumn accents is remarkably straightforward with a versatile crochet pumpkin pattern that works up in two distinct dimensions: a compact 11 cm mini accent and a substantial 24 cm centerpiece. Built using the continuous spiral technique of amigurumi and worked double-stranded with a 5.5 mm hook, these textured gourds achieve structural firmness without requiring complex specialty tools. Whether styled across an entryway console, perched on a fireplace mantel, or arranged across a festive dining table, seasonal yarn decor offers a reusable alternative to perishable produce. The distinct ribbed appearance comes together through an accessible stitch combination that beginners and seasoned crafters can complete in an afternoon.
Essential Supplies and Project Specifications
Before casting on, gathering the right materials ensures the pumpkin maintains its plump shape without stuffing peeking through the fabric. Working with two strands held together gives the project an elevated thickness and rapid work-up time.
- DK Acrylic Yarn: 2 x 100g skeins in Orange (Color A) and 1 x 100g skein in Forest Green (Color B).
- Crochet Hook: Size 5.5 mm (US I-9).
- Filling: Polyester toy stuffing for an even, pillowy density.
- Notions: Yarn needle and sharp scissors.
A widespread misconception among newer makers is that strict gauge tension dictates whether a stuffed project succeeds. Unlike wearable garments that demand exact sizing to fit the body, this decor piece requires no tension swatch; maintaining firm, uniform tension simply keeps the polyester filling fully concealed. Consistent tension when working double-stranded yarn prevents gaps, ensuring the inner stuffing remains invisible throughout the life of the project.
Pumpkin Size and Finished Dimensions
To help you plan your seasonal display, here are the target dimensions for both versions of the project:
- Small Pumpkin: Approximately 11 cm diameter, 7 cm height
- Large Pumpkin: Approximately 24 cm diameter, 13 cm height
Technique and Pattern Abbreviations
The pattern is worked using standard UK crochet terminology in continuous rounds (amigurumi method), using two strands of yarn held together simultaneously throughout.
- ch: chain
- dc: double crochet (equivalent to US single crochet)
- fpdc: front post double crochet (creates the raised outer ribs)
- sl st: slip stitch
- dc2tog: double crochet two stitches together (decrease)
- sts: stitches
- [ ]: repeat instructions within brackets as directed
Step-by-Step Instructions: Small Pumpkin
The smaller version measures approximately 11 cm in diameter, making it ideal for tier trays or compact window ledges. Using a 5.5 mm hook and 2 strands of Yarn A (Orange), ch4, then sl st into the furthest ch from hook to form a center ring.
- Round 1: Work 12dc into the ring (12 sts).
- Round 2: [2dc in next st] 12 times (24 sts).
- Round 3: [1fpdc, 2dc in next st] 12 times (36 sts).
- Round 4: [1fpdc, 1dc, 2dc in next st] 12 times (48 sts).
- Round 5: [1fpdc, 2dc, 2dc in next st] 12 times (60 sts).
- Round 6: [1fpdc, 4dc] 12 times. Repeat Round 6 an additional 11 times.
- Round 18: [1fpdc, 2dc, dc2tog] 12 times (48 sts).
- Round 19: [1fpdc, 1dc, dc2tog] 12 times (36 sts).
- Round 20: [1fpdc, dc2tog] 12 times (24 sts).
- Round 21: [dc2tog] 12 times (12 sts). Firmly insert polyester toy stuffing into the body.
- Round 22: [dc2tog] 6 times (6 sts). Break yarn with a long tail, thread through remaining 6 sts, pull taut, and pass a securing stitch between the top and bottom center to pull the pumpkin into an authentic indented profile.
Stem Construction (Small)
Switching to Yarn B (Forest Green) with two strands held together, ch4 and sl st into the furthest ch to form a ring.
- Round 1: Work 6dc into the ring (6 sts).
- Round 2: Work 6dc. Repeat this round twice more, fasten off, and securely stitch the stem to the top center depression.
Step-by-Step Instructions: Large Pumpkin
For a bold dining centerpiece or hearth accent measuring roughly 24 cm in diameter, the large version expands the foundation rounds to build dramatic presence. Using a 5.5 mm hook and 2 strands of Yarn A, ch4, then sl st into furthest ch from hook to form a ring.
- Rounds 1-5: Follow Rounds 1 through 5 of the small pumpkin pattern up to 60 sts.
- Round 6: [1fpdc, 3dc, 2dc in next st] 12 times (72 sts).
- Round 7: [1fpdc, 4dc, 2dc in next st] 12 times (84 sts).
- Round 8: [1fpdc, 5dc, 2dc in next st] 12 times (96 sts).
- Round 9: [1fpdc, 6dc, 2dc in next st] 12 times (108 sts).
- Round 10: [1fpdc, 8dc] 12 times. Repeat Round 10 an additional 23 times.
- Rounds 34-40: Work gradual decreases: Round 34 [1fpdc, 6dc, dc2tog] 12 times (96 sts); Round 35 [1fpdc, 5dc, dc2tog] 12 times (84 sts); Round 36 [1fpdc, 4dc, dc2tog] 12 times (72 sts); Round 37 [1fpdc, 3dc, dc2tog] 12 times (60 sts); Round 38 [1fpdc, 2dc, dc2tog] 12 times (48 sts); Round 39 [1fpdc, 1dc, dc2tog] 12 times (36 sts); Round 40 [1fpdc, dc2tog] 12 times (24 sts).
- Round 41: [dc2tog] 12 times (12 sts). Fill completely with stuffing.
- Round 42: [dc2tog] 6 times (6 sts). Fasten off with a long tail, cinch closed, and cinch top-to-bottom for the signature pumpkin dip.
Stem Construction (Large)
Using 2 strands of Yarn B, ch4, sl st to create a ring, and work 6dc into the ring (6 sts). In Round 2, double each stitch to reach 12 sts. Work 12dc plain for Round 3, repeating 5 more times. Next, work [2dc in next st, 1dc] 6 times (18 sts), followed by [2dc in next st, 2dc] 6 times (24 sts). Fasten off, weave in tails, and stitch firmly atop the center indent.
Crafting custom holiday displays has never been simpler. Experiment with cream, sage, or mustard yarn to match your modern autumnal aesthetic. Double-stranding your yarn provides sturdy structure without stiff wiring. It ensures seasonal handmade pieces hold their shape year after year.
Frequently Asked Questions
Is this crochet pumpkin pattern beginner-friendly?
Yes! While front post double crochets create the textured ribs, the spiral amigurumi construction uses fundamental increases and decreases that adventurous beginners can master quickly.
Do I need to worry about exact gauge tension?
No strict gauge is required for this decor project. The main goal is maintaining firm and consistent tension so that the inner polyester fiberfill remains completely hidden between the stitches.
What yarn weight is best for this project?
The pattern calls for standard DK acrylic yarn worked with two strands held together simultaneously. This technique provides extra thickness, rapid work-up time, and robust structural stability.
Can I customize the colors of my pumpkins?
Absolutely. While traditional orange and forest green create a classic look, you can easily adapt the design using cream, mustard, or sage yarn to complement your specific seasonal aesthetic.
How do I achieve the indented pumpkin shape?
The characteristic ribbed appearance comes from the fpdc (front post double crochet) stitches, while the pinched center profile is formed by passing a long securing yarn tail straight through the vertical core between the top and bottom centers.