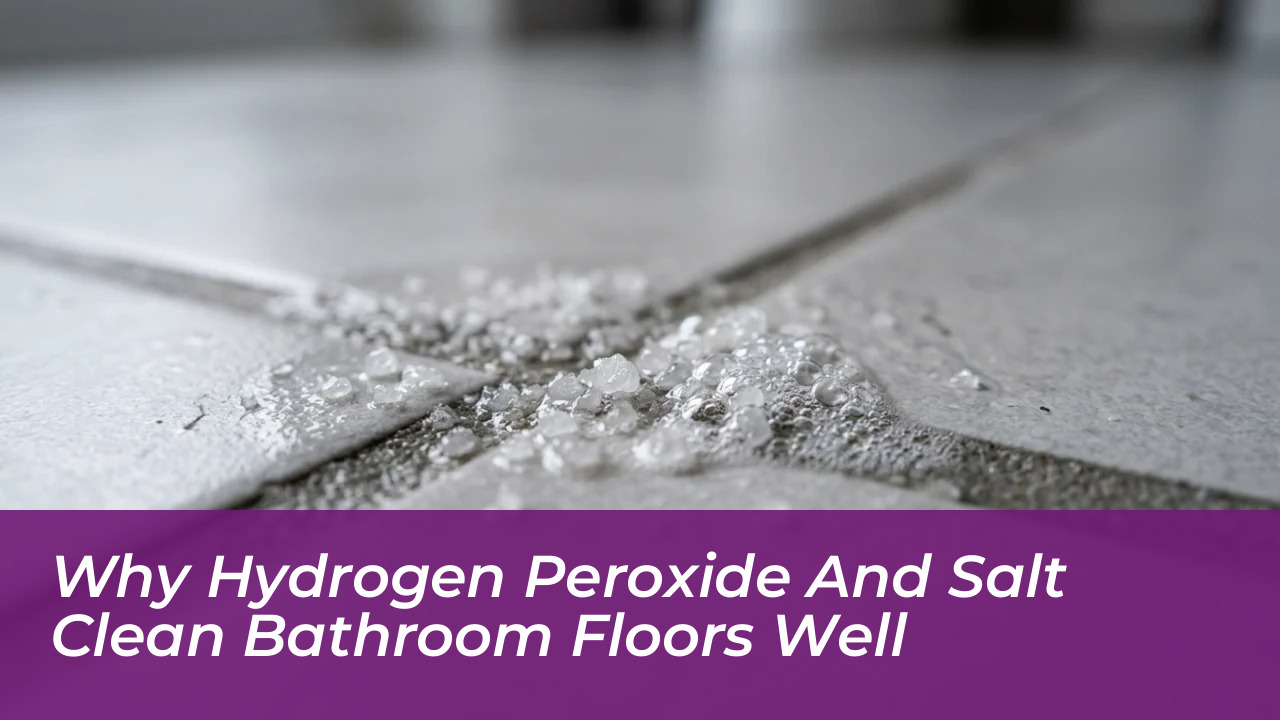

Combining 3% hydrogen peroxide and salt directly on bathroom floors creates an active chemical and physical reaction that dissolves stubborn soap scum, surface discoloration, and grime trapped inside porous tile grout. This targeted household combination lifts embedded residue within a 10-to-15-minute window, providing an accessible way to complement your regular cleaning routine without relying on harsh commercial bleaches.
Bathrooms endure constant exposure to standing water, humidity, and steam. Over time, this damp environment accelerates moisture accumulation, mold growth in grout lines, and thick layers of mineral and soap buildup that standard mopping simply misses. Understanding the exact chemical and physical mechanism behind this everyday cleaning duo reveals why it remains a trusted technique for revitalizing dull floors.
The Science: How Hydrogen Peroxide and Salt Lift Grime
The combination succeeds because it pairs a chemical oxidizing process with mechanical abrasion. Standard liquid cleaners often slide off vertical or recessed grout surfaces, but this two-part treatment targets surface dirt directly at the contact point.
When applied to floor residue, hydrogen peroxide functions as an active oxidizing agent. As it interacts with organic matter and grime, the compound rapidly releases oxygen bubbles and breaks down cleanly into harmless water. Meanwhile, common table salt or sea salt introduces an abrasive physical element. The granular structure scrubs away hardened mineral crusts and soap film without causing the aggressive scratching associated with heavy-duty scouring pads or harsh industrial cleansers.
| Ingredient | Primary Cleaning Function |
|---|---|
| 3% Hydrogen Peroxide | Oxidizing agent that releases oxygen, breaks down into water, and lifts organic stains. |
| Table or Sea Salt | Mild granular abrasive that loosens adhered residue, soap scum, and surface film. |
Myth vs. Reality: Bathroom Grout Cleaning
A widespread misconception is that removing deep bathroom grime requires corrosive solutions or industrial-strength bleach. Many assume that bubbling reactions indicate surface damage, when in fact, the effervescence of hydrogen peroxide simply marks the release of oxygen lifting organic material from textured surfaces.
Another common mistake is scrubbing dry surfaces immediately after applying a cleaner. Letting the active oxidizer sit allows the liquid to penetrate the porous structure of cementitious grout before any manual scrubbing begins.
Step-by-Step: How to Apply the Treatment Correctly
Applying this method requires standard household items and takes under twenty minutes from start to finish. Gathering the appropriate tools in advance prevents cross-contamination across different bathroom zones.
Required Materials
- Standard 3% hydrogen peroxide (in a spray bottle)
- Table salt or fine sea salt
- A soft-bristle brush or an old toothbrush
- Clean warm water for rinsing
- A clean towel or microfiber dry cloth
Application Routine
- Prep the surface: Sweep or vacuum away all loose dirt, pet hair, and dust particles that might form a sludge when mixed with liquid.
- Apply the oxidizer: Pour the 3% hydrogen peroxide into a spray bottle and spray an even coat generously across stained tile grout and heavily soiled spots.
- Add the abrasive: Sprinkle a light, even layer of salt directly over the wet grout lines.
- Allow dwell time: Leave the mixture undisturbed for 10 to 15 minutes, giving the oxygen bubbles time to loosen adhered grime and soap scum.
- Scrub gently: Take your soft-bristle brush or old toothbrush and work the salt crystals along the grout channels using circular motions.
- Rinse and dry thoroughly: Flush away residual slurry with clean water, then wipe the entire floor completely dry with a towel to prevent water spots and eliminate slippery floor hazards.
Final cleaning results depend on the overall age of your flooring, the specific material being cleaned, and how long the solution remains on the target area. Regular spot treatment prevents chronic mold accumulation between seasonal deep-cleaning sessions. Always test any new cleaning solution on a small, hidden corner of natural stone or specialty tile before full application.
Frequently Asked Questions
Can I use higher than 3% hydrogen peroxide for bathroom floors?
No, standard household 3% hydrogen peroxide is recommended. Higher concentrations, such as industrial or food-grade variants, can damage tile surfaces, bleach colored grout unpredictably, and cause skin irritation.
Is this mixture safe for all types of bathroom tiles?
While safe for most ceramic and porcelain tiles, natural stone such as marble, travertine, or limestone can be etched or dulled by acidic or abrasive treatments. Always test a hidden area first.
Does table salt scratch ceramic tiles?
Fine table salt or sea salt dissolves partially in liquid and offers a mild abrasive action that cleans grout lines without scratching durable ceramic or porcelain surfaces.
How often should I use this peroxide and salt treatment?
This method is ideal for monthly deep-cleaning sessions or targeted spot treatments on stubborn stains rather than an everyday mopping routine.
What should I do if the grout stains do not come out?
If persistent mold or deep-set stains remain, you may need to repeat the process with a longer dwell time or consider specialized professional grout sealing after a deep clean.