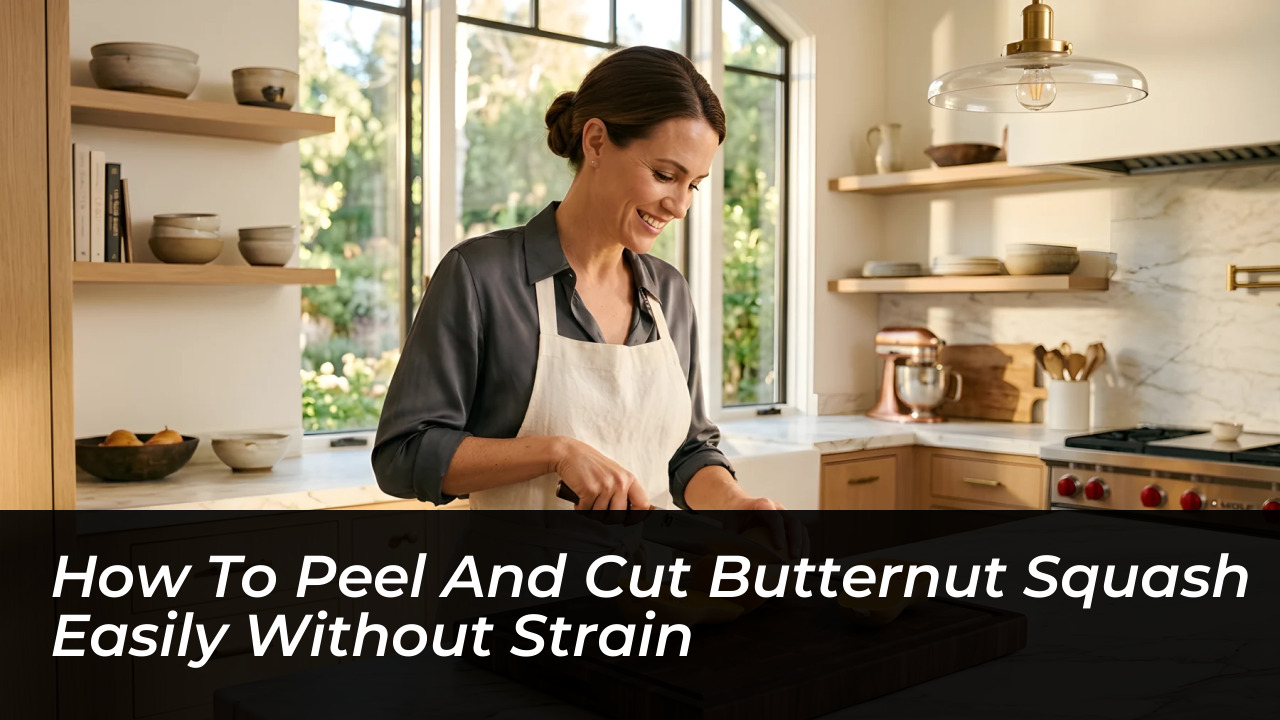
Transforming a tough winter squash into uniform cubes does not require brute physical force or put your wrists at risk. Wrestling with an untreated gourd is a leading cause of kitchen cuts because dull blades frequently deflect off waxy, curved surfaces. By applying basic kitchen physics-specifically a brief microwave treatment and proper anatomical sectioning-you can break down a butternut squash safely, quickly, and without straining your hands.
Due to high traffic on this story, please verify you are not a bot to instantly unlock the remaining content. Takes only 5 seconds!
Verify & Continue ReadingThe easiest way to peel and cut butternut squash requires puncturing the skin and microwaving the entire vegetable for two to three minutes. After that, you cut off the ends to create flat, stable working surfaces. This brief heat application loosens the cellular bond between the waxy outer skin and the firm flesh, allowing a standard Y-peeler to glide down the sides with minimal downward pressure.
Why Pre-Softening Eliminates the Slip Hazard
Traditional kitchen advice often insists on carving dense squash raw, forcing home cooks to drive heavy blades through rock-hard cellular structures. This approach routinely leads to jammed knives and dangerous slips. Piercing the skin several times with a fork and applying short microwave bursts creates steam inside the outer layers, softening the rind without cooking the interior flesh.
A widespread misconception is that microwaving squash turns the flesh to mush before it hits the roasting pan. In reality, a short microwave cycle penetrates only the outer millimeter of tissue. This preserves the crisp internal texture essential for even roasting or soup preparation. The vegetable remains completely raw beneath the skin, keeping your recipe on track while sparing your hands.
Essential Tools for Clean Squash Prep
Using the wrong equipment turns a quick task into an exhausting ordeal. Standard swivel peelers often lack the blade width and structural rigidity necessary to bite through tough skin, forcing repeated, jagged strokes that slip off the curvature. Before making your first slice, secure your workspace with a few key items:
- Large cutting board: Placed securely over a damp paper towel to prevent sliding on smooth countertops.
- Heavy 8-inch chef’s knife: Provides clean leverage and momentum for dense sections.
- Wide-grip Y-peeler: Offers a horizontal carbon-steel blade that bites into waxy rinds effortlessly.
- Sturdy metal spoon or ice cream scoop: Cleans out the fibrous seed cavity cleanly in a single sweep.
Step-by-Step: The Safest Method to Prep Winter Squash
Following a precise structural order ensures that the squash never rolls while you apply pressure with a sharp edge. Keep your non-dominant hand curled into a safe claw grip throughout every slicing motion.
- Vent and warm: Poke 8 to 10 shallow holes through the squash skin with a fork, place the whole squash on a microwave-safe plate, and microwave on high for 2 to 3 minutes. Allow it to rest for 60 seconds until cool enough to handle safely.
- Create flat anchors: Place the squash horizontally on your stabilized board. Use your heavy chef’s knife to slice off one-half inch from the stem end and one-half inch from the bottom base, creating two completely flat, level surfaces.
- Peel vertically: Stand the squash upright on its wide, flat base. Hold the top securely with your non-dominant hand and pull your Y-peeler downward in long, fluid strokes, exposing the deep orange flesh beneath the pale inner rind layer.
- Separate neck from bulb: Lay the peeled squash flat and cut horizontally across the narrow waist, right where the slender neck expands into the bulbous base.
- Scoop and clean: Stand the round bottom section upright and slice it cleanly in half from top to bottom. Use a metal spoon to scrape out the seeds and stringy pulp in a single sweeping motion.
- Cube uniformly: Lay all flat surfaces down against the cutting board. Slice the solid neck lengthwise into planks, cut those planks into batons, and crosscut the batons into even cubes. Repeat with the hollowed base halves.
Storage Tips for Prepped Squash
Uniform cube sizes ensure consistent roasting times, preventing smaller corner pieces from burning while larger chunks remain tough and undercooked. Once cut into uniform pieces, raw butternut squash stores remarkably well in an airtight glass container inside the refrigerator for up to five days.
If you are prepping ingredients in advance, keep the cubes dry by lining the bottom of the storage container with a clean paper towel to absorb excess surface moisture. Pre-softening the skin and anchoring flat bases removes the danger and frustration from squash season, making weeknight cooking fast and efficient.
Frequently Asked Questions
Do you have to peel butternut squash?
Only if your recipe requires cubed pieces that hold their shape. For soups, purees, or mashes, you can cut the squash in half lengthwise, roast it cut-side down, and scoop the tender flesh straight out of the skin with a spoon.
How long should I microwave a butternut squash before cutting?
Microwave the whole squash for 2 to 3 minutes after poking holes in the skin with a fork. This warms the outer waxy layer just enough to soften it without cooking or altering the raw interior flesh.
Why is there a pale green layer under the skin?
That fibrous layer sits between the tough outer skin and the sweet inner flesh. It remains tough when cooked and tastes faintly bitter, so it is best to make a second pass with your peeler until solid orange flesh is visible all the way around.
Can I freeze raw cut butternut squash?
Yes. Spread raw squash cubes in a single layer on a baking sheet and freeze them completely solid before transferring them to a freezer bag. This prevents the pieces from freezing together into a single block.
What is the safest knife technique for winter squash?
Always cut off the ends first so you have a flat, stable surface that cannot roll. Lay the squash flat on your cutting board, keep your non-dominant fingers curled in a claw grip, and use a sharp chef’s knife with controlled downward pressure.