
Dealing with a cramped storage space can feel like an impossible puzzle. Standard kitchen base cabinets demand a depth of 24 inches, which would completely block a walkway in a narrow room. However, a clever pantry renovation completed for $500 to $600 proves that tight storage footprints do not require expensive custom carpentry. By repurposing shallow 11-inch-deep IKEA shoe cabinets inside a compact 6-by-4-foot walk-in pantry, DIY creator u/leisure-rules unlocked functional counter space, concealed organization, and a dedicated appliance station in a space previously choked by wrap-around shelves.
Standard kitchen base units would have consumed half the width of a four-foot-wide pantry, leaving almost no room to stand. Swapping conventional cabinetry for slim entryway units allowed the walkway to stay completely open while establishing enclosed, lower-level storage beneath a continuous wooden countertop.
Overcoming the Limits of Traditional Wrap-Around Shelving
The original room layout featured basic white open shelving spanning the left, back, and right walls. While the setup provided multiple tiers for dry goods, it created usability bottlenecks. Deep shelves forced supplies to hide behind one another, and the lack of a sturdy surface ruled out using kitchen appliances.
Stripping out the fixed boards exposed the wall supports and required patching the original plaster. The project preserved the room’s existing hardwood floors while applying fresh paint to prepare for a completely reimagined two-tier storage layout. A common mistake in small-space design is defaulting to deep, static shelving that traps items out of reach rather than utilizing slim, functional clearances.
The 11-Inch Cabinet Hack and Shaker Trim Upgrade
The core breakthrough came from installing entryway shoe storage along the left wall. At roughly 11 inches deep, the tilt-out bins hold cleaning gear, trash bags, and water bottles without protruding into the walking path.
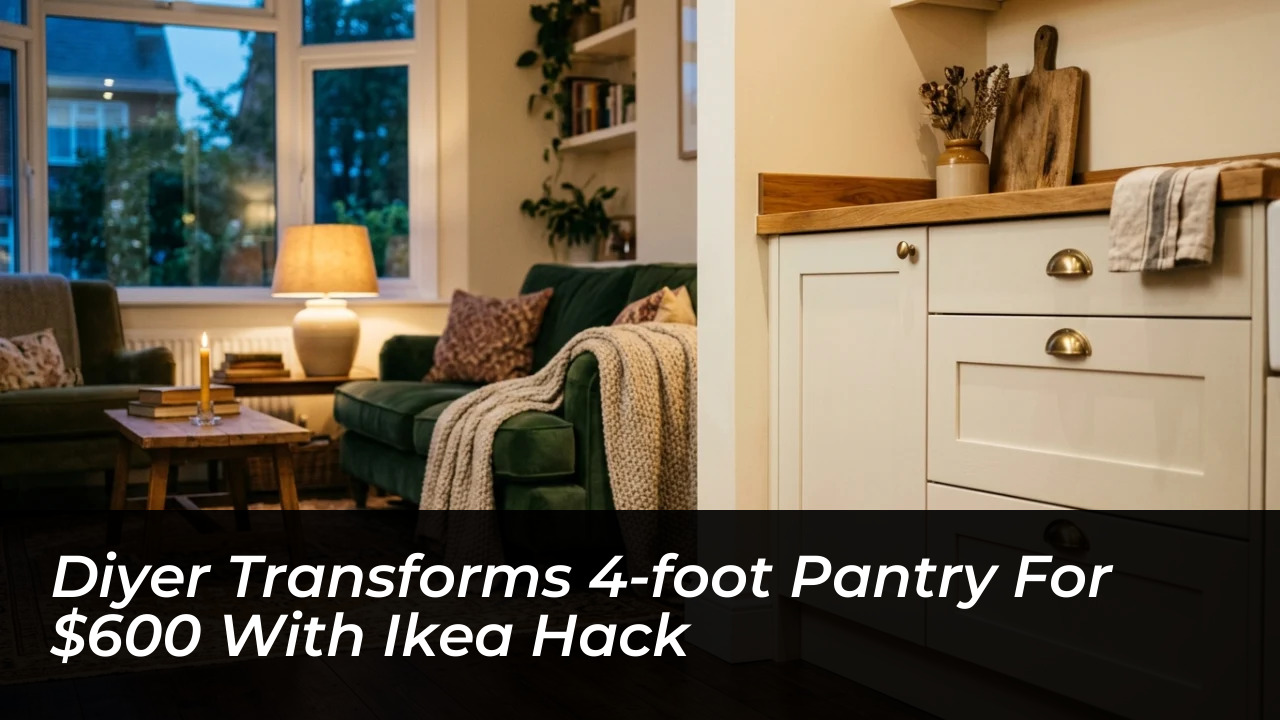
To eliminate the look of budget entryway furniture, decorative trim was secured around the outer perimeters of each cabinet door to produce a tailored Shaker-style profile. Pairing these panels with classic brass-toned cup pulls transformed the mass-manufactured fronts into pieces that resemble built-in kitchen joinery.
Custom Corner Framework and Deep Utility Drawers
Bridging the gap between the shallow side run and the back wall required framing a custom timber base to support an L-shaped work surface. The awkward rear corner was enclosed with a matching cabinet door, concealing a fire extinguisher, bulk paper products, and internal electrical lines.
Adjacent to the corner unit, two full-height custom drawers were engineered specifically to hold recycling and pet food, isolating messy utility items beneath the primary prep counter.
Specifications: Original Setup vs. Rebuilt Layout
- Base Cabinet Depth: Approx. 11 inches (IKEA tilt-out units)
- Primary Work Surface: Continuous L-shaped solid wood countertop
- Power Outlets: Surface-mounted directly into countertop
- Upper Shelving: 1×8-inch side boards, 1×12-inch rear boards
- Dedicated Utility Hubs: Espresso bar, air fryer zone, recycling bin
- Total Project Cost: $500 to $600 (DIY labor and surplus wood)
Adding L-Shaped Counters and an Integrated Coffee Station
Connecting both storage walls with a warm wood countertop gave the narrow room an immediate functional purpose. Because cutting channels into historic plaster would require extensive repair work, electrical outlets were cut directly into the wooden worktop to power small kitchen appliances safely.
Open upper shelving provides vertical storage overhead without crowding head height. The side walls use 1-by-8 lumber, while the back wall features deeper 1-by-12 boards treated with shellac to accommodate bulk canisters and heavier cookware.
The completed rear counter functions as a full-service coffee station anchored by an espresso machine and grinder, while the side counter keeps everyday appliances like an air fryer accessible yet off the main kitchen counters.
Executing a Low-Cost Pantry Overhaul
Achieving a custom appearance on a strict DIY budget relies on utilizing surplus building materials, standard hardware store timber, and off-the-shelf components. The project’s timeline spanned just over three weeks of weekend work and evening hours.
- Demolish and prep: Strip out fixed wall racks, patch plaster holes, sand surfaces smooth, and apply durable interior paint.
- Anchor slim base units: Secure shallow shoe cabinets directly into wall studs along the narrowest wall clearance.
- Construct supporting timber frames: Frame custom bases for corner joints and build dedicated pull-out boxes for pet supplies and waste.
- Trim and finish doors: Apply thin battens to create Shaker profiles, add brass hardware, and paint cabinet faces to unify mismatched materials.
- Mount countertops and shelving: Install butcher block or sealed lumber worktops, wire appliance connections, and set open upper shelving with shellac seals.
Transforming awkward utility spaces often comes down to looking beyond standard cabinet catalogs to find proportions that work. Innovative hacks like using entryway furniture for kitchen storage open up entirely new design possibilities for compact homes.