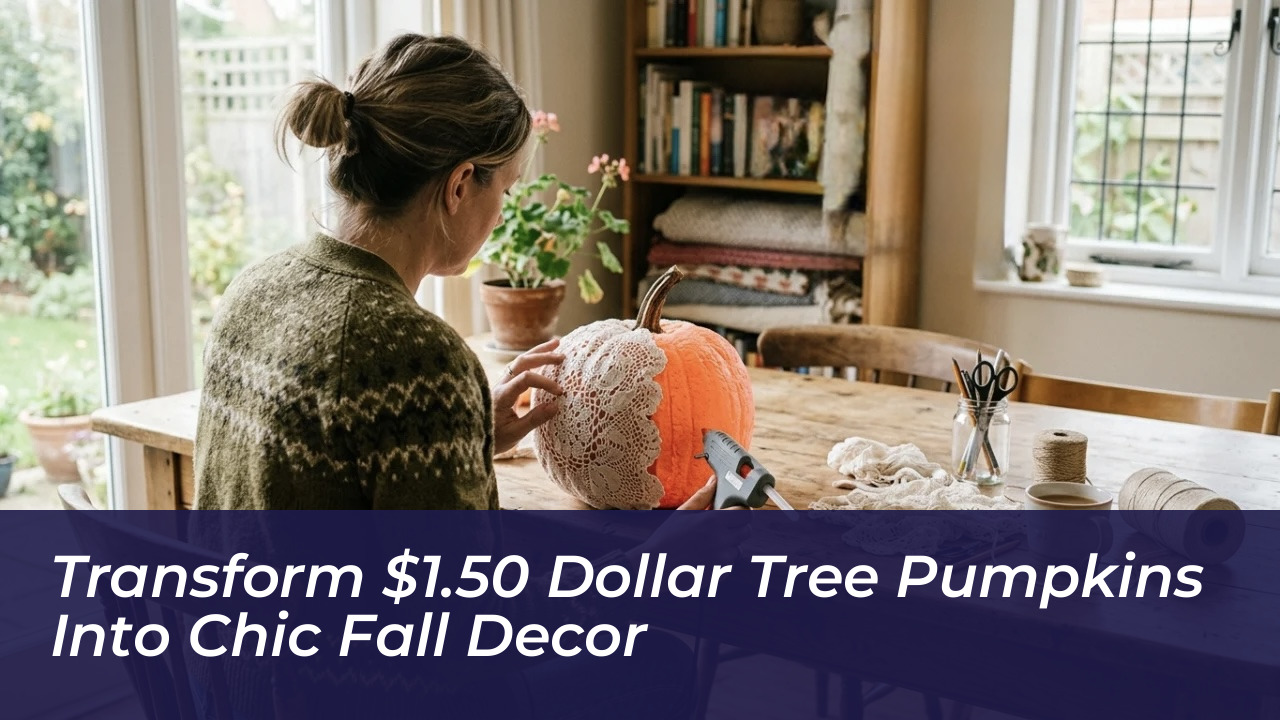

As seasonal temperatures drop and households prepare for cooler weather, finding accessible ways to refresh interior spaces becomes a top priority. Instead of purchasing expensive boutique accents that inflate seasonal budgets, crafty homeowners are turning to discount store basics to achieve high-end textures. Originally shared by creator Julie’s Wreath Boutique on TikTok (@julieswreathboutique), a viral budget hack demonstrates how inexpensive carvable foam pumpkins priced at just $1.50 from Dollar Tree can be transformed into stunning, vintage-inspired autumn centerpieces in less than an hour using recycled fabric doilies, acrylic paint, and hot glue.
Recreating this trendy farmhouse look does not require specialized skills or costly materials. By utilizing items found in discount kitchen aisles or repurposing old family textiles, decorators can produce elegant, textured home decor pieces for a fraction of retail prices. This guide details the necessary supplies, step-by-step assembly instructions, and styling tips to help you master this seasonal craft project.
Essential Supplies for the Vintage Lace Pumpkin Upgrade
The materials required for this seasonal project are simple, budget-friendly, and readily available at discount craft chains or big-box retailers across the United States. Repurposing vintage crocheted lace or picking up multi-packs of inexpensive doilies ensures the total project cost remains under five dollars per pumpkin.
To recreate this look at home, gather your items beforehand on a protected flat surface:
- Orange carvable foam pumpkins: Available in the seasonal section of Dollar Tree for $1.50 each.
- Doilies: Vintage crocheted pieces or budget packs found in discount kitchen aisles.
- Acrylic paint: White (or your chosen base neutral tone) and brown for stem detailing.
- Fasteners & tools: Straight sewing pins, a hot glue gun, scissors, and standard paintbrushes or craft sponges.
- Natural stem alternative: A small outdoor branch or sturdy twig collected from the yard.
Project Specifications At-A-Glance
Review this quick specification table to ensure you have all the proper components lined up before beginning your crafting session:
| Project Element | Craft Specifications |
|---|---|
| Base Material | Carvable foam pumpkin ($1.50) |
| Textile Layer | Lace or crocheted fabric doily |
| Temporary Fastener | Straight sewing pins |
| Permanent Adhesive | Hot glue sticks |
| Stem Alternative | Painted plastic stem or real outdoor twig |
Step-by-Step Instructions to Build Your Display
Executing this transformation requires only a few structured steps that make it suitable for beginner crafters, solo DIY enthusiasts, and family crafting sessions alike.
1. Remove and Replace the Stem
Gently twist and pull off the existing plastic stem using your fingers. If the stem proves stubborn, carefully cut along the base seam using a utility craft blade. To prepare an upgraded accent stem, coat the original green plastic stem with brown acrylic paint to mimic wood grain, or source a small, sturdy twig from the yard for natural realism.
2. Paint the Foam Pumpkin Base
Set the bare foam base onto scrap newspaper or a paper plate to catch drips. Apply an even layer of acrylic paint-neutral white or antique cream offers a clean farmhouse finish-and allow the paint to dry completely before proceeding.
3. Shape and Secure the Doily
Center the lace or crocheted doily over the top of the painted pumpkin. Insert straight pins along the contours to keep the fabric taut against the curves of the gourd. Carefully adhere the edges using hot glue. Once the adhesive completely cools, remove all straight pins and trim away any loose fabric overhang with sharp scissors.
4. Reattach the Top Stem
Apply a dab of hot glue into the top depression of the pumpkin and firmly insert your finished twig or painted stem. Hold it in place for a few seconds until secure.
Styling Your Finished Doily Pumpkins
Once assembled, these DIY accents pair naturally with clear glass jars filled with acorns, rustic metal lanterns, or decorative centerpieces composed of faux autumn leaves and dried pine cones. Give your seasonal display a custom touch without overspending by repurposing scrap fabrics and collected outdoor branches to create a sustainable display that lasts all autumn long.
Frequently Asked Questions
Can I use real pumpkins instead of foam for this doily craft?
While you can theoretically pin doilies to a real pumpkin, foam pumpkins are recommended because they hold straight pins securely, accept hot glue better, and will not rot or degrade over time, allowing you to reuse your decor year after year.
Where is the best place to find inexpensive doilies?
Inexpensive doilies can be found in the kitchen and table linens section of discount stores like Dollar Tree, at local thrift shops, or tucked away in vintage family collections.
What type of paint works best on Dollar Tree foam pumpkins?
Standard acrylic craft paint or chalk paint adheres wonderfully to foam pumpkins. If you want a smoother finish, you can apply a quick coat of primer or gesso first.
How do I clean my finished doily pumpkins?
Because these pumpkins feature delicate fabric lace and hot glue, they are intended for indoor use only. Gently dust them with a dry microfiber cloth or a soft paintbrush when needed.
Are these crafts kid-friendly?
Yes, children can easily help with painting the pumpkins and arranging the doilies, though an adult should handle the hot glue gun and sharp pinning tools.