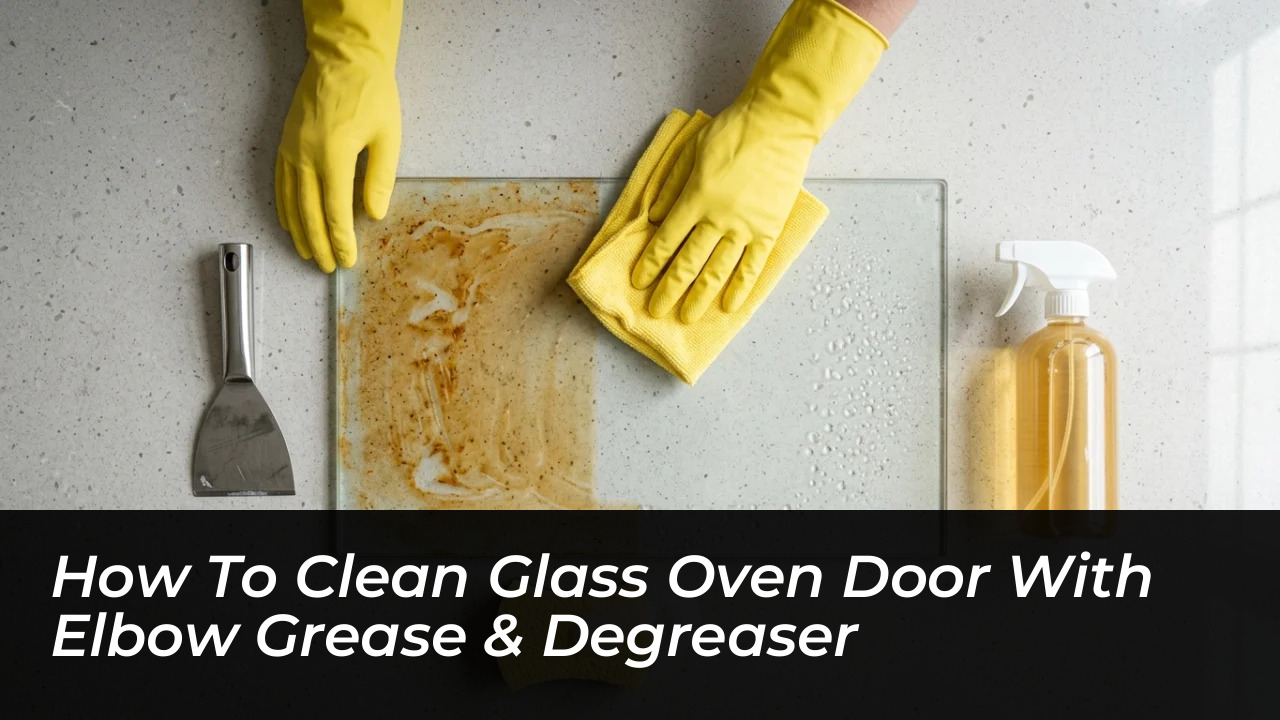

Restoring clarity to a cloudy, carbon-coated oven door requires more than a casual wipe with warm soapy water. When continuous roasting and baking vaporise cooking oils against interior glass panes, these lipids undergo thermal polymerisation, transforming into hardened, dark brown lacquer-like sheets. Tackling this heavy build-up demands a targeted approach that combines dedicated degreasers or DIY pastes, precise chemical dwell times, and controlled mechanical friction. By understanding how surfactants interact with tempered glass, you can dissolve months of culinary residue without resorting to aggressive tools that scratch or weaken the appliance.
The Chemistry of Baked-On Oven Grease
Every time you roast, bake, or broil, microscopic drops of animal fats and cooking oils aerosolise inside the cavity and condense against the cooler interior surface of the oven door. Over successive heating cycles, these trapped lipids bake repeatedly, forming a dense resin layer that standard dish soap cannot penetrate.
Specialised consumer degreasers, such as dedicated commercial cleaning sprays or heavy-duty alkaline formulas, rely on active wetting agents. These agents lower water tension and penetrate molecular fissures in the burnt residue. Paired with deliberate physical friction, these solutions lift the chemical bond holding the carbon crust to the smooth tempered glass underneath.
A common mistake during routine cleaning is wiping away chemical agents immediately after application. Spraying and wiping instantly stops the active surfactants from softening the carbonised oils. Skipping this vital phase forces you to use unnecessary abrasive force, which risks permanently marring the glass pane.
Step-by-Step Degreasing Method With Physical Effort
Clearing away layers of burnt-on grease calls for a methodical, step-by-step procedure. Always verify that the appliance is completely cool to the touch before introducing any liquid cleaners; spraying cold formulas onto hot tempered glass can trigger thermal shock and shatter the pane.
- Prep the workspace: Spread old kitchen towels or newspaper on the floor beneath the oven door to catch run-off liquid and prevent slippery patches on kitchen tiles.
- Apply the degreasing agent: Spray your chosen degreaser or spread a thick baking soda paste evenly across the glass pane, ensuring complete coverage over the darkest caramelised areas.
- Observe the dwell period: Allow the product to sit undisturbed for 10 to 15 minutes so the formula emulsifies and breaks down the grease crust.
- Agitate with a non-scratch tool: Use a non-scratch scouring sponge or a stiff microfiber cloth in tight circular motions. For stubborn carbon patches, light pressure with a specialised glass ceramic scraper held at a shallow 30-degree angle lifts crusts safely.
- Wipe clean: Remove the loosened brown sludge using a damp, clean cloth, rinsing repeatedly in warm water.
- Buff dry: Finish the surface with a dry microfiber cloth to eliminate moisture streaks and prevent residue evaporation marks.
Comparing Oven Glass Cleaning Approaches
Selecting the right treatment depends entirely on the severity of the burnt-on accumulation and the cleaning supplies you have on hand. The table below outlines the best use cases for different cleaning techniques:
| Cleaning Method | Best Use Case |
|---|---|
| Degreaser Spray + Scrub Pad | Heavy baked-on carbon, baked fat rings, and thick amber grease layers |
| Bicarbonate of Soda Paste | Mild, recurring food splatters where a gentle physical abrasive is preferred |
| Mild Acidic Brew or Rinse | Light hazy grease films and final streak-free polishing on exterior panes |
Safety and Material Compatibility
While tempered oven glass is engineered to withstand extreme temperatures, it remains highly vulnerable to micro-fissuring if subjected to harsh mechanical abrasives. Steel wool, coarse scouring pads, and unapproved metal knives etch minute scratches into the surface, weakening the structural integrity of the glass over subsequent heating cycles.
Always ensure you keep strong chemical degreasers away from delicate door seals and surrounding silicone rubber gaskets. Alkaline or solvent-heavy formulas can dry out and degrade these thermal barriers, leading to heat leaks and reduced appliance efficiency.
Common Oven Cleaning Myths Debunked
A frequent myth in household maintenance is that self-cleaning pyrolytic cycles eliminate the need for manual door upkeep. While pyrolytic modes use intense heat up to 900 degrees to incinerate cavity residues, oven doors frequently sit slightly cooler around the perimeter, meaning perimeter glass often retains a baked-on haze that requires targeted manual action.
Another widespread misconception claims that mixing vinegar directly with bicarbonate of soda creates a superior cleaning superpower. In reality, combining an and a base results primarily in water and sodium acetate, cancelling out the chemical degreasing properties of each individual ingredient and leaving you relying solely on basic physical scrubbing power.
How to Maintain a Crystal-Clear Door Longer
Maintaining an unclouded oven door saves energy by allowing you to monitor baking progress without opening the door and dropping internal cavity temperatures. Regular quick wipe-downs between heavy roasting sessions prevent thin splatters from vulcanising into unyielding carbon sheets. By combining proper chemical dwell times with safe, non-scratch physical effort, your oven door will remain sparkling clean with minimal stress.