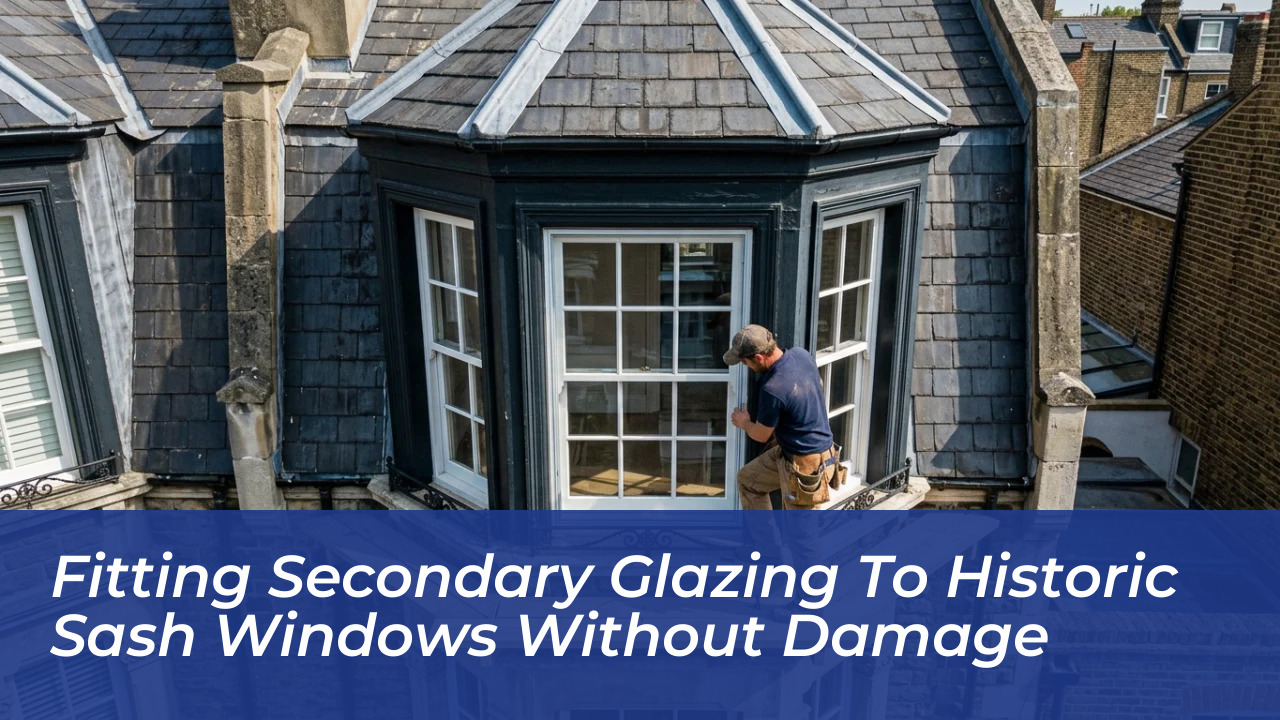

Fitting secondary glazing to traditional timber sash windows eliminates biting draughts and dampens intrusive street noise without altering your home’s historic facade or breaching strict conservation rules. The entire process hinges on choosing the correct mounting position-typically the primary staff bead or internal window reveal-to ensure an airtight internal seal whilst preventing trapped moisture from rotting historic timber. For owners of Victorian, Edwardian, and Georgian properties across the UK, replacing original single-glazed sashes with modern double glazing is frequently blocked by local planning authorities.
Even where regulations permit replacement, ripping out hand-blown cylinder glass and seasoned slow-grown pine damages the architectural soul and market value of a period residence. A precision-fitted secondary pane introduces an insulating cavity between your living space and the weather outside. This retains warmth and creates a robust thermal and acoustic barrier that operates completely independently of the primary window.
Selecting the Right System for Period Box Sashes
Traditional sash windows rely on a counterbalance system of lead weights, cords, and pulleys housed within a hollow box frame. Installing the wrong secondary frame style will instantly block your access to the original sashes, making ventilation and emergency cleaning impossible. To retain full function, the secondary unit must closely reflect the geometry and movement of the primary window.
The three dominant systems engineered for sash configurations include:
- Vertical Sliders: Purpose-built to mirror traditional sashes, these units feature top and bottom panels that slide smoothly past each other on spiral balances, aligning perfectly with your existing horizontal meeting rails.
- Balanced Tilt-in Sliders: An evolution of the standard vertical slider, allowing both secondary sashes to tilt inwards into the room for effortless glass cleaning without unshipping the panels.
- Lift-Out or Magnetic Panels: A lightweight, cost-effective alternative ideal for small windows or sashes that are rarely opened, utilizing discreet aluminium tracks or magnetic perimeter tapes.
Historic England guidelines consistently emphasise that any internal intervention should remain fully reversible and visually subservient to the original joinery. Ensuring your secondary horizontal meeting rail aligns seamlessly with the original timber keeps the retrofit visually undetectable from the pavement.
Preparation: Assessing Timber and Measuring Out-of-Square Openings
Before ordering or cutting any materials, you must conduct a thorough condition assessment of the primary window. Fitting an airtight internal panel over decaying timber or untreated damp creates an ideal environment for wet rot to flourish unchecked behind the glass. Begin by repairing damaged sash cords, scraping away peeling paint, and treating any soft spots on the cill using a wood hardener or two-part exterior filler. If the existing sashes rattle aggressively against the staff beads, apply brush-pile draught strips to the primary window first to reduce wind buffet against the secondary glass.
Period window reveals are notoriously uneven, settling over decades into subtle trapezoids. Never rely on a single measurement. Measure the width at the top, middle, and bottom of the reveal to the nearest millimetre. Measure the height at the left, centre, and right edges. Check the diagonal dimensions from corner to corner to determine the exact degree of distortion. If the reveal is significantly out of square, prepare a softwood subframe. Scribe and plane this timber ground to follow the contours of the plaster or masonry, creating a perfectly plumb, square mounting platform for the aluminium secondary frame.
Step-by-Step Guide: How to Fit Secondary Glazing to Sash Windows
Secondary glazing can be mounted directly into the face of the original window surround (face-fixing) or within the depth of the plaster reveal (reveal-fixing). Reveal-fixing is widely considered superior because it establishes a deeper acoustic air gap, ideally between 100mm and 150mm away from the primary glass.
Executing the Mechanical Installation
Work methodically to guarantee that the installation remains air-sealed against the interior room while leaving the primary sash fully accessible.
- Step 1: Establish the Subframe: If using a timber subframe, pre-drill countersunk holes and secure the battens into the reveal masonry using low-expansion wall plugs and screws. Check every face with a spirit level before tightening.
- Step 2: Dry-Fit the Assembled Frame: Offer the secondary glazing outer frame into the opening without fixings. Use plastic setting blocks or packers at the corners to square the aluminium chassis within the opening until the sliding panels glide without binding.
- Step 3: Secure the Perimeter: Fix the secondary frame into the subframe or reveal using non-corrosive wood screws positioned through the pre-drilled fixing channels. Avoid over-tightening, which bows the slim aluminium profile and jams the sliding tracks.
- Step 4: Seal the Internal Margin: Apply an acoustic, paintable mastic around the entire perimeter joint between the secondary frame and the internal wall. This perimeter must be entirely airtight to prevent warm, humid room air from migrating behind the panel.
- Step 5: Test Balance and Operation: Adjust the spiral balances with a dedicated tensioning tool if the sliding panels drop under their own weight or feel stiff to raise. Ensure the central latch pulls the meeting rails tightly together when closed.
The Condensation Trap: Protecting Your Historic Joinery
The single greatest operational hazard when fitting secondary glazing is condensation forming on the inner face of the original single-glazed panes. This occurs when moisture-laden internal air bypasses the secondary unit and meets the ice-cold exterior glass. The golden rule of secondary thermal design is absolute asymmetry: the secondary inner unit must be completely airtight, while the external primary window must maintain subtle, passive background breathing.
If warm room air penetrates the intermediate cavity, the trapped moisture will steadily saturate the timber cill and bottom sash rail. Never apply impermeable silicone sealant to the exterior joints of the original historic sashes. Allowing minimal external micro-ventilation ensures that any trace moisture that enters the intermediate cavity can evaporate naturally outwards, keeping your original joinery bone-dry through the coldest winter months.
Acoustic Tip: If your priority is blocking street or aircraft noise rather than pure thermal retention, opt for laminated acoustic glass measuring 6.4mm or 6.8mm in the secondary unit, and maintain a generous air space of at least 100mm from the existing window.
Heritage Reminder: If your property is Grade I or Grade II* listed, always consult your local conservation officer before carrying out works, as even non-structural internal fixtures can require formal Listed Building Consent in sensitive interiors.
Have you installed secondary glazing in your period home, or are you currently battling historic draughts? Share your thoughts and project queries in the comments below.