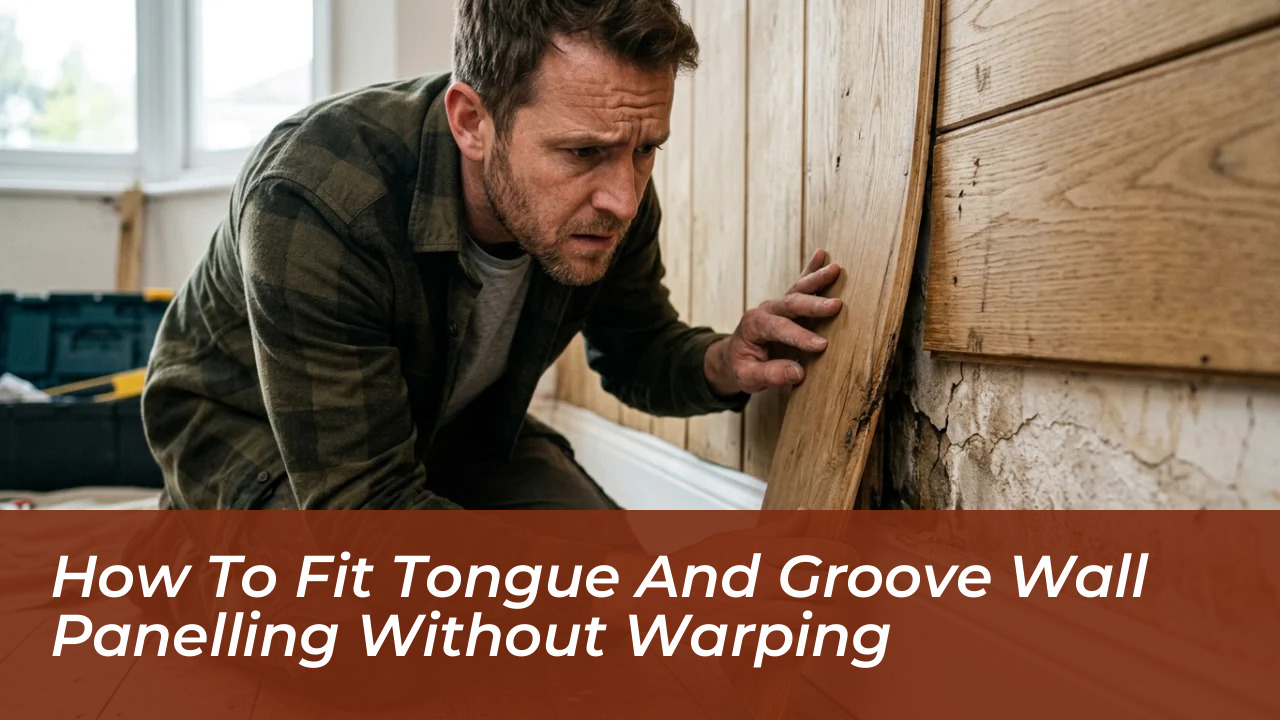

Fitting tongue and groove wall panelling transforms uneven, cold plaster into a classic architectural feature in a single weekend. Fix the timber to horizontal battens rather than gluing planks straight to the masonry. Skipping that crucial batten framework traps residual moisture. This forces the boards to cup, buckle, and pop off the wall during seasonal humidity shifts. Success comes down to sub-frame preparation and expansion allowances, whether you want a half-height wainscoting effect in a busy hallway or full-height cladding in a living room.
Getting the initial layout dead plum prevents cumulative drift across the length of the room. Taking the time to understand the natural movement of timber guarantees a durable finish that looks bespoke rather than amateur. Proper planning safeguards your underlying plasterwork and prevents costly repair work down the line.
The Acclimatisation Mistake That Destroys Panelling Timber
Timber is a hygroscopic material that continually absorbs and releases ambient moisture. Unpacking fresh cladding packs and pinning them directly onto a wall immediately after delivery is the most common reason panelling fails within weeks. Bring your tongue and groove wall panelling into the room where it will live before making a single cut.
Strip the protective plastic shrink-wrap completely and lay the boards flat on scrap timber bearers for at least 48 to 72 hours. This simple pause allows the moisture content of the wood to equalise with the central heating and humidity levels of the room. Skipping acclimatisation leads directly to two avoidable headaches:
- Excessive shrinkage: Planks fitted while damp pull apart as dry radiators heat the room, exposing unpainted tongue joints and bare gaps.
- Severe buckling: Timber brought in from a damp timber merchant will swell in a humid hallway, tenting outwards away from the wall.
- Plaster damage: Swelling boards exert immense lateral pressure, occasionally cracking adjacent plasterwork and dislodging corner architraves.
Mapping the Framework: Battens, Cable Safety, and Plumb Lines
Never mount vertical panelling flat against existing plaster or plasterboard. Walls across British period homes and modern new-builds alike are rarely flat. Fixing directly to them guarantees wavy panelling that telegraphs every wall imperfection. Begin by running an electronic multi-sensor pipe and cable detector across every square foot of the working area. Modern electrical conduits often run vertically or horizontally from sockets and switches, posing a severe hazard if pierced by fixing screws.
Install horizontal treated timber battens (roughly 25mm by 38mm or 25mm by 50mm) spaced vertically between 400mm and 500mm apart. Use low-profile plastic packers behind the battens where walls dip inward. Verify that the entire timber sub-frame is plumb with a long spirit level. Leave small staggered 10mm gaps between adjacent batten ends to encourage vertical airflow behind the timber. That continuous ventilation stops trapped condensation from rotting the cladding or spawning mould behind the facade.
Setting the Master Baseline and the First Board
Never rely on your skirting board or ceiling line as a benchmark for level because structural settling ensures both are almost certainly sloping. Strike a crisp plumb line using a spirit level or laser level on the wall where you intend to start, typically in the most visually prominent corner of the room.
Position your first board with the grooved edge facing inward toward the corner and the exposed tongue facing outwards toward the open wall run. If the corner is out of true, scribe the back edge of the board with a compass to match the irregular masonry contour. Saw along the scribed line for a neat fit. Check the vertical edge against your spirit level three times before securing it. If this very first board sits out of plumb by even two millimetres, that error multiplies rapidly across every successive board.
Securing the Cladding: Secret Nailing vs Heavy-Duty Grab Adhesive
While heavy-duty construction adhesive seems quick, relying entirely on glue prevents the timber from expanding freely. Mechanical fixings remain the professional standard for lasting durability. The cleanest approach is secret nailing, which hides all fasteners from view once the next board slots into place.
Drive thin oval nails, headless panel pins, or specialist brad nails at a 45-degree angle directly through the base of the protruding tongue into each horizontal batten. A nail punch countersinks the head just below the surface of the wood. This prevents the fastener from blocking the groove of the next timber plank. For particularly stubborn boards or uneven walls, combining a small bead of flexible grip adhesive on the batten face with angled nails provides maximum hold without rigid restraint.
Always leave a consistent 2mm expansion clearance inside the groove rather than hammering the boards together with excessive force. Using an offcut as a tapping block prevents you from crushing the delicate tongue profiles when seating consecutive planks.
Capping, Skirting Transitions, and Moisture Protection
If you are installing mid-height panelling, the exposed raw end-grain at the top requires a protective dado rail or rebated capping moulding. Cut a rebate into the underside of your capping strip so it nests over the top edge of the panelling, sealing the gap cleanly against the wall.
At the base of the wall, maintain a strict 5mm to 10mm air gap between the bottom cut ends of the cladding and the finished floor level or skirting top. This prevents wet mops or carpet cleaning solutions from soaking straight up into the porous end-grain via capillary action. In humid zones like bathrooms or kitchens, avoid standard untreated pine boards. Specify moisture-resistant (MR) MDF beadboard sheets or pressure-treated softwoods, and seal all edges-especially bottom end-grain cuts-with an oil-based primer before mounting.
Fill any visible pinholes with flexible timber filler, sand smooth with 120-grit abrasive paper, and wipe down with a tack cloth. Finish with an eggshell, satin, or breathable modern emulsion suited to withstand heavy daily scuffs. Planning a DIY wall transformation this season? Take your time setting up straight, ventilated battens, and the panelling practically installs itself. A methodical approach during the sub-frame stage prevents years of creaking joints and visible warping down the line.
Frequently Asked Questions About Tongue and Groove Wall Panelling
Can I glue tongue and groove wall panelling directly to plaster?
Gluing directly to plaster is not recommended. It traps residual wall moisture, prevents timber expansion, and strips off the plaster surface if the boards ever need to be removed. Always use a batten framework.
Why do my tongue and groove boards keep buckling or warping?
Buckling usually occurs because the timber was not properly acclimated to the room for 48 to 72 hours before installation, or because there is inadequate airflow and expansion space behind and between the boards.
What is secret nailing and how do I do it?
Secret nailing involves driving finish nails or brad nails at a 45-degree angle through the base of the protruding tongue directly into the horizontal batten. This hides the nail heads from view and allows consecutive boards to slot over them seamlessly.
How do I handle electrical sockets when panelling a wall?
Isolate the power supply at the consumer unit. Extend electrical cables using suitable connector blocks and mount extended pattress boxes onto the face of the new panelling once fitted, ensuring safety regulations are met.
What type of wood is best for bathroom wall panelling?
In high-moisture rooms like bathrooms, use moisture-resistant (MR) MDF beadboard or pressure-treated softwoods. Seal all cut edges and end-grain thoroughly with an oil-based primer before installation to prevent water ingress.