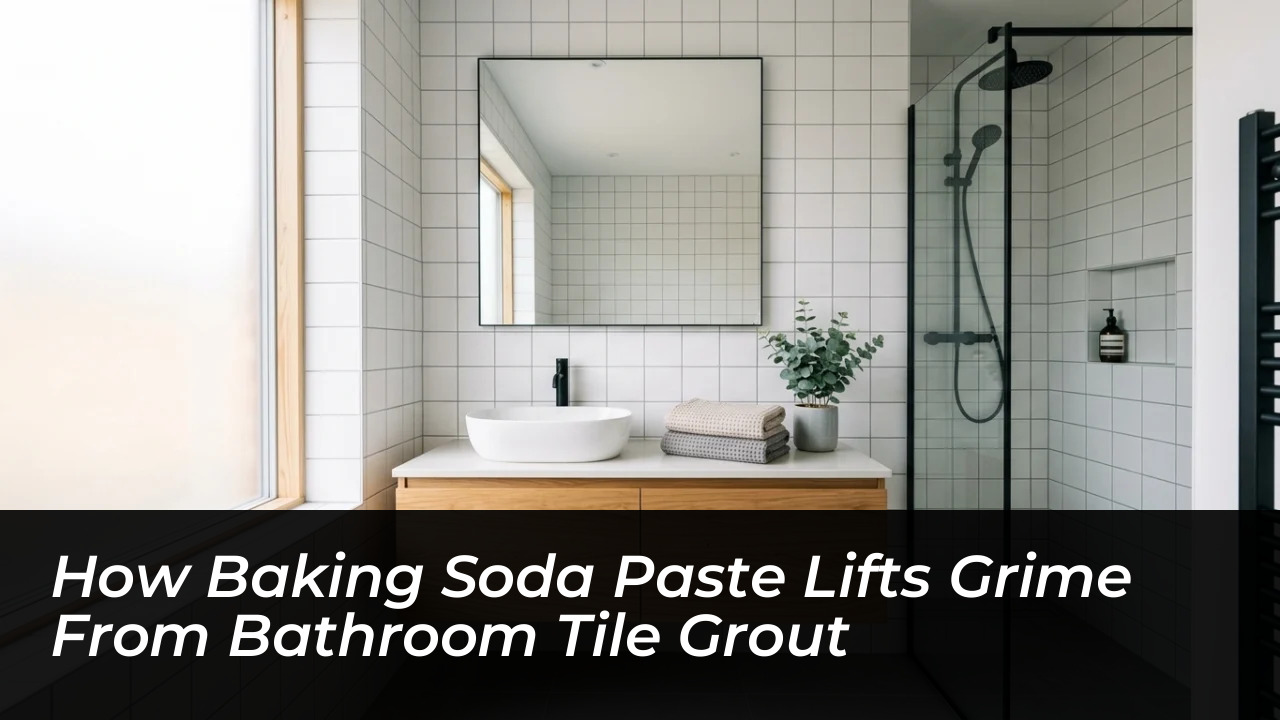

Two everyday kitchen staples-bicarbonate of soda and ordinary tap water-form an effective paste capable of lifting accumulated dirt and reviving discolored bathroom tile grout without damaging fragile surfaces. Rather than reaching immediately for aggressive, caustic chemicals, combining these basic ingredients creates a gentle abrasive paste that breaks down surface buildup between ceramic joints.
Over time, bathroom grout naturally traps residue from soaps, hard water, and everyday grime, causing clean tiles to appear drab and unkempt. Damp bathroom environments accelerate this dulling process, making regular line maintenance essential for preserving the room’s appearance.
The Science Behind Bicarbonate of Soda on Ceramic Joints
The practical effectiveness of this low-impact method is formally documented by researchers. In its published guidance, Hazardous Household Substances: Alternatives That Are Relatively Free of Toxic Effects, the Institute of Food and Agricultural Sciences at the University of Florida (UF/IFAS) specifically highlights a paste of baking soda and water to clean unsealed grout that looks lackluster.
The thick paste works mechanically into the micro-texture of the cementitious filler between tiles. When agitated correctly, it loosens trapped organic debris and light staining without etching the surrounding glazed ceramic. A paste of baking soda and water provides a low-toxicity alternative for cleaning unsealed grout that has turned dull over time.
While many assume that heavy bleach or specialized acids are mandatory for every cleaning session, mechanical scrubbing with mild abrasives often handles typical surface buildup just as effectively.
How to Clean Bathroom Tile Grout Step by Step
The technique requires minimal equipment and takes only a few minutes of active preparation before application:
- Prepare a paste: Mix baking soda with a small amount of clean water until it forms a dense, spreadable consistency.
- Apply to the grout: Spread the mixture directly across the discolored joints between the ceramic tiles.
- Scrub with a brush: Use a brush with nylon bristles to work the paste firmly into the affected areas without scratching adjacent tiles.
- Remove the residue: Rinse the treated section thoroughly with clean water and wipe down with a cloth to lift remaining particles.
- Dry the surface: Finish by buffing the area with a clean, dry cloth to ensure no excess moisture lingers in the joints.
Before treating an entire wall or floor, always test the mixture on a discrete, less visible corner. This ensures the technique will not alter the finish or color of your specific tiles.
Pre-Treatment Checks and Surface Suitability
Always review manufacturer recommendations if your installation features proprietary sealants or delicate stone finishes. The physical properties of unsealed grout respond well to mild scrubbing, but distinct conditions require different handling.
- Routine dullness and surface dirt: Apply baking soda paste with a nylon-bristle brush.
- Sealed or treated joints: Check manufacturer care guidelines before scrubbing.
- Active mold and deep bacteria: Use targeted anti-mold solutions to eliminate spores.
- Unknown or delicate tiles: Conduct a spot test on an incons**cuous corner.
The Limits of Homemade Cleaning Solutions
Research from UF/IFAS points out that non-toxic, homemade mixtures generally demand slightly more physical effort and repeat applications compared to commercial alternatives. Overall results depend heavily on the age of the installation, maintenance frequency, and whether the dirt is purely superficial.
When tiles suffer from deep black mold, structural cracking, or persistent biological staining, basic abrasion alone will not cure the underlying problem. In such cases, treating the bacterial growth directly with dedicated formulations remains essential to protect the room’s hygiene.
Regular spot-cleaning prevents daily limescale and scum from hardening into permanent grout stains. Always inspect your tile sealant before applying any abrasive paste across large surfaces.
Frequently Asked Questions
Can I use baking soda paste on sealed tile grout?
If your grout has been treated with a proprietary chemical sealant, abrasive scrubbing with baking soda can gradually wear away the protective barrier. Always check manufacturer care guidelines before applying any paste to sealed joints.
What is the ideal ratio for a baking soda grout paste?
A standard mixture consists of approximately 3 parts baking soda to 1 part clean water. Stir the ingredients thoroughly until the texture resembles thick frosting or toothpaste, ensuring it clings to vertical tile lines without running.
Does baking soda kill mold in bathroom grout?
While baking soda helps lift surface dirt and light discoloration, it does not function as a powerful biocide. For deep-seated black mold or active bacterial growth, targeted anti-mold treatments are required.
Should I mix vinegar with the baking soda paste?
Combining baking soda and vinegar simultaneously triggers a reaction that releases carbon dioxide and cancels out the cleaning properties of both components. Use them sequentially instead.
How do I prevent a white chalky residue after cleaning?
If the paste dries on the tile surface, it leaves a powdery white film. Ensure you complete a thorough rinse with clean water, followed by a final buff using a dry microfiber cloth.