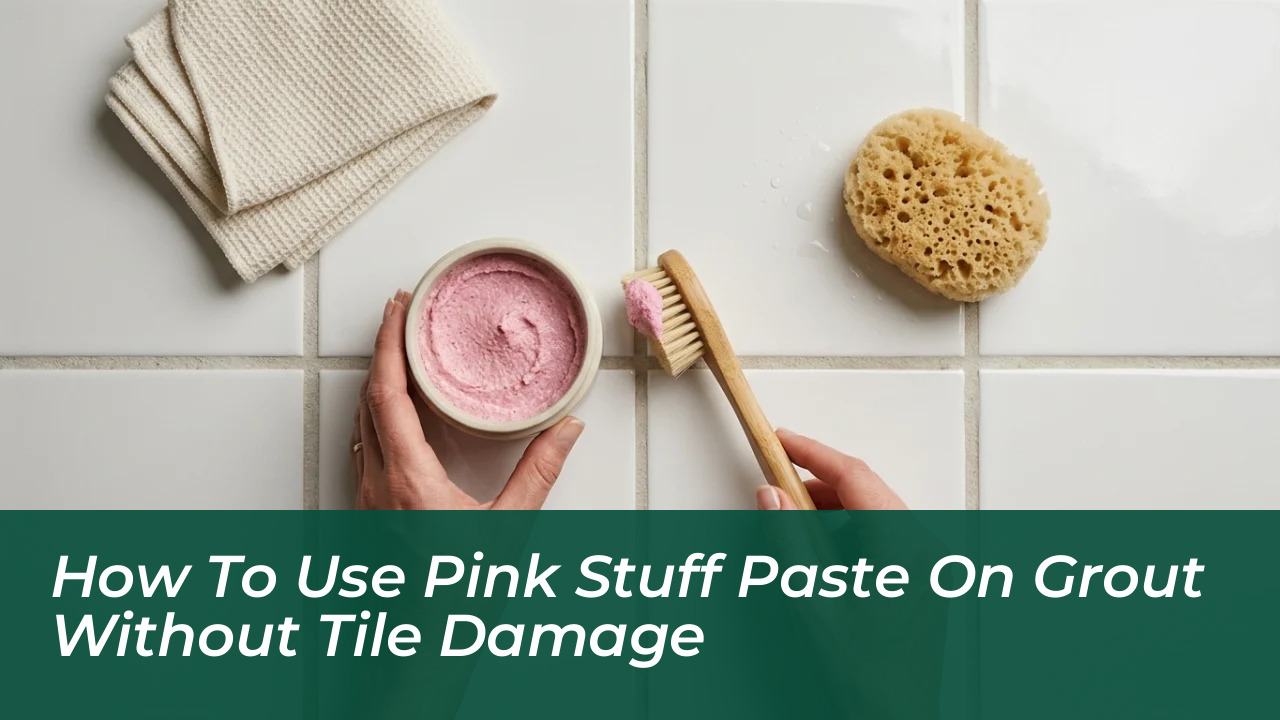

Tile grout is inherently porous, meaning moisture, dirt, and body oils inevitably seep beneath the visible surface over time. Standard liquid spray cleaners often run down vertical walls before penetrating deep staining, leaving homeowners searching for a reliable solution. Applying The Pink Stuff paste on grout lifts mineral deposits, soap scum, and embedded grime within five to ten minutes when worked in with a soft-bristled brush. This mild abrasive cleaner targets microscopic surface pores where dirt settles, restoring discoloured lines without requiring heavy chemical fumes.
The Science of Abrasive Cleaning on Porous Grout
The cleaning compound relies primarily on finely ground quartz particles, soap, and sodium silicate suspended in a thick paste base. These fine mineral abrasives provide mechanical scrubbing action that physically dislodges calcified limescale and surface mould from textured cement channels. Because the paste features an alkaline profile, it cuts through oily films and grease far more effectively than basic water rinsing.
However, the mineral abrasives require measured pressure to ensure the underlying cement matrix remains structurally sound. Applying excessive force with abrasive cleaners can erode thin grout lines over time. Controlled, circular motions protect both the cement matrix and adjoining tile glaze. Misusing the product can turn a quick weekend chore into an expensive re-grouting project if basic precautions are ignored.
Step-by-Step Guide to Cleaning Grout Lines
Achieving spotless results requires minimal product and standard household tools. Rushing the process without proper preparation risks spreading gritty residue across adjacent tiles. Follow this practical, step-by-step approach to safely restore your tiled surfaces:
- Clear and damp the area: Wipe the tiled surface with warm water using a microfibre cloth to remove loose dust and lightly wet the grout channels.
- Apply a small amount: Scoop a coin-sized portion of paste onto a damp sponge or soft-bristled toothbrush.
- Work in small circles: Gently rub the paste directly along the discoloured grout lines using moderate, circular motions. Avoid excessive downward pressure.
- Allow short dwell time: Let the compound sit on stubborn discolourations for roughly three to five minutes so the surfactants can loosen deep grime.
- Rinse thoroughly: Wipe away all paste residue using a clean cloth saturated with fresh, warm water, changing the rinse water frequently to prevent cloudy residue.
- Dry and inspect: Buff the tiles dry with a clean towel to check the final result and prevent water spotting.
Surface Safety and Material Compatibility
While the process is straightforward, different tiling materials respond differently to abrasive compounds. Glazed ceramic tiles tolerate gentle contact with mild abrasives quite well, but delicate finishes require caution. High-gloss tiles, polished natural stone, and unsealed marble scratch easily under mechanical pressure.
Always perform a discrete spot test on a hidden corner before coating widespread surfaces. This precautionary check guarantees that the fine silica particles will not dull glossy glazes or stain pale natural surfaces.
Common Grout Cleaning Misconceptions
A widespread myth suggests that abrasive cleaning pastes can replace permanent mould treatments or act as permanent protective sealants. While the paste scours away visible fungal staining and grime from the surface layer, it does not eradicate deep fungal spores embedded beneath older cement. If you are dealing with active mould, treat the area with a targeted antifungal spray before applying any abrasive paste.
Another frequent mistake involves letting abrasive pastes dry completely into hardened plaster-like deposits. When the paste dries fully inside porous channels, rinsing requires harsh scraping that can strip away the original grout binder. Always keep the working area moist and rinse promptly.
Best Practices for Grout Maintenance
Preserving the fresh look of clean grout depends entirely on what happens after the physical scrub is complete. Here are the core guidelines for safe upkeep:
- Recommended Tool: Soft-bristled toothbrush or non-scratch sponge.
- Contact Time: 3 to 5 minutes maximum to prevent residue hardening.
- Scrubbing Technique: Gentle circular movements with light pressure.
- Rinse Requirement: Multiple passes with clean, warm water to eliminate film.
- Post-Clean Care: Buff dry and apply a penetrating grout sealer once fully cured.
Long-Term Maintenance and Prevention
Once deep grime is cleared, keeping moisture levels down prevents the rapid recurrence of dark stains. Squeegeeing shower walls after daily use removes standing water that feeds mildew and mineral deposits.
Applying a dedicated penetrating grout sealer once the area has dried completely seals porous capillary tracts. This protective barrier stops future dirt from anchoring deep within the joints, keeping routine maintenance quick and effortless. Incorporate this routine into your home care schedule to keep your tiles looking professional year-round.