
When sharp ground frosts threaten tender perennials, citrus trees, and winter crops across Britain, fitting horticultural bubble wrap incorrectly can lead to a heartbreaking loss of prized specimens. Gardeners facing damp British winters often discover that unchecked draughts strip ambient warmth within minutes of dusk. Trapping residual daytime heat requires exact technique, making the choice between a thriving winter sanctuary and a failed harvest hinge on avoiding one simple bubble wrap mistake.
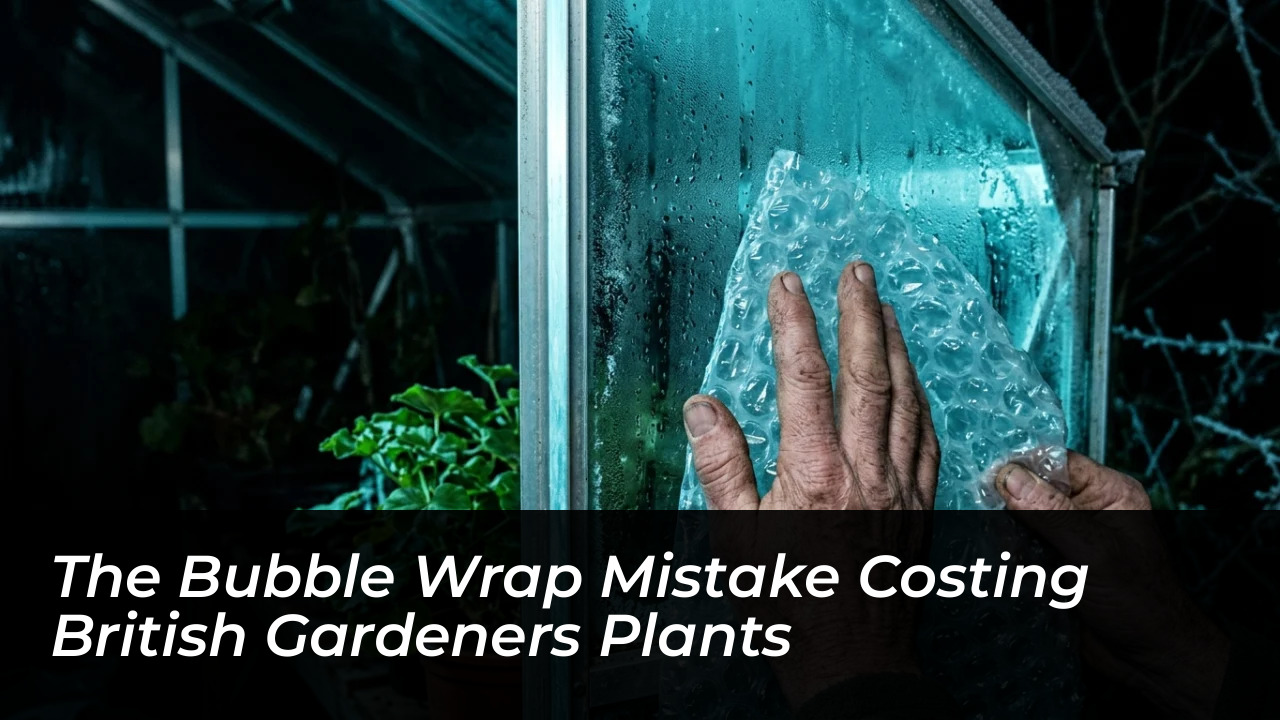
The most common error British gardeners make is placing standard postal packaging bubble wrap directly against greenhouse glass, or positioning the smooth plastic side against the glazing instead of the bubbles. Standard postal packaging degrades within months when exposed to ultraviolet daylight, turning brittle, disintegrating into microplastic flakes, and blocking available sunlight. Dedicated horticultural greenhouse bubble wrap is specifically stabilised against UV radiation and engineered with larger, reinforced air pockets-typically 20mm to 30mm in diameter-to trap static air effectively.
The Physics of Horticultural Insulation
Fitting horticultural bubble wrap correctly creates a sealed air pocket that halves heat loss and prevents sudden winter frost damage. Because non-circulating air conducts heat poorly, this polyethylene layer acts as secondary glazing without the high cost of running electric fan heaters around the clock. Purpose-made horticultural insulation allows high levels of diffuse daylight to penetrate, ensuring overwintering greens and semi-dormant plants photosynthesise without rotting from poor light levels during cloudy winter weeks.
Step-by-Step Installation: Creating an Airtight Thermal Envelope
Condensation and moisture control represent significant hazards when sealing any structure. A systematic installation method prevents cold bridges while stopping trapped humidity from dripping onto dormant plant crowns:
- Clean every glass pane thoroughly: Clear away algae, dirt, and summer shading paints with a soft sponge to maximise daylight transmission before fixing insulation in place.
- Face bubbles towards the glass: Positioning the bubble-face outward against the glazing creates thousands of miniature dead-air chambers, presenting a smooth, wipeable surface inside the structure.
- Secure with nylon frame-fixing clips: Twist-and-lock plastic clips slot directly into the internal channels of standard aluminium greenhouse glazing bars, holding the material taut without puncturing the sheets.
- Overlap every seam by at least 50mm: Cold air naturally seeps through unsealed gaps; secure overlaps tightly with clear, moisture-resistant weather tape to form an unbroken barrier.
- Use staples for timber frames: Timber-framed greenhouses bypass twist clips entirely, requiring rust-resistant stainless steel staples to pin the edges directly into wooden glazing bars.
Zoning Smaller Spaces to Minimise Heat Demands
Heating an entire greenhouse through freezing weather places a heavy demand on domestic fuel or paraffin. Gardeners frequently reduce heating demands by constructing a smaller plastic tent within the insulated structure. By erecting an internal curtain of greenhouse bubble wrap across a single bay or over lower staging benches, you isolate vulnerable pots inside a compact thermal zone. This concentrated enclosure keeps root balls protected, allowing small ceramic heaters or soil-warming cables to operate with minimal power consumption.
Guarding Against Winter Stagnation and Botrytis
Total insulation introduces an unexpected threat to plant health: stagnant, waterlogged air. When greenhouses are sealed against bitter winds, rising internal humidity invites grey mould (Botrytis cinerea) to destroy tender foliage. Air exchange remains essential throughout British winters. Whenever afternoon temperatures climb above freezing and external conditions are dry, crack open a roof vent or side louvre for half an hour to flush damp air without collapsing the ambient thermal base. Combine your bubble-wrap lining with targeted fleece covers draped directly over plant tops during severe frost alerts, lifting the fleece each morning so foliage breathes freely.
Taking time to seal gaps and drape bubble film before persistent frosts arrive transforms a vulnerable glass shed into a reliable sanctuary. Regular checks along your overlaps will ensure high winds or settling condensation have not pulled your fixings away from the glazing tracks. Pair your thermal wrapping with an accurate maximum-minimum thermometer to monitor internal variations and guide your daily ventilation routine.