
Airborne oil droplets coat cooktops, vent hoods, backsplashes, and cabinets every time food is fried or sautéed. This forms an adhesive film that traps dirt. Dissolving this layer requires matching the correct chemical solution to the specific surface. This prevents stripping finishes or dulling sensitive paint. While everyday dish soap removes fresh splatters, aged cooking grease bonds tightly to surfaces as it cools and oxidizes. This necessitates more targeted cleaning strategies.
Commercial Degreasers vs. DIY Solutions
Heavy grease accumulation responds quickly to specialized solvents designed to emulsify hardened fats. However, choosing the wrong product can lead to permanent etching or discoloration on delicate materials. Selecting a gentler alternative prevents damage to sensitive kitchen fixtures.
Commercial degreasers dissolve stuck-on grease and goo with little effort. However, it is vital to check the label to ensure the formula is safe for your specific surfaces. For example, while some products are highly effective, they may be unsuitable for aluminum, porous stone, vinyl, or painted finishes.
Comparison of Cleaning Options
| Degreaser Option | Best Use Case | Surface Precautions |
|---|---|---|
| Easy-Off | Heavy buildup removal | Avoid aluminum, painted walls, porous stone, or vinyl. |
| Krud Kutter | Sealed materials | Keep away from varnished wood or leather. |
| Method Heavy Duty | Plant-based cleaning | Do not apply to bare aluminum fixtures. |
| DIY Mix | Gentle/Natural cleaning | Safe for most; double concentration for heavy grime. |
If commercial products are too aggressive, you can formulate a homemade degreaser using common pantry items. Combine hot water, a squirt of liquid dish detergent, a small pour of white vinegar, and a teaspoon of baking soda to create an active degreasing wash. For those who prefer a natural citrus scent, fresh lemon juice can replace vinegar.
Step-by-Step Stovetop and Range Maintenance
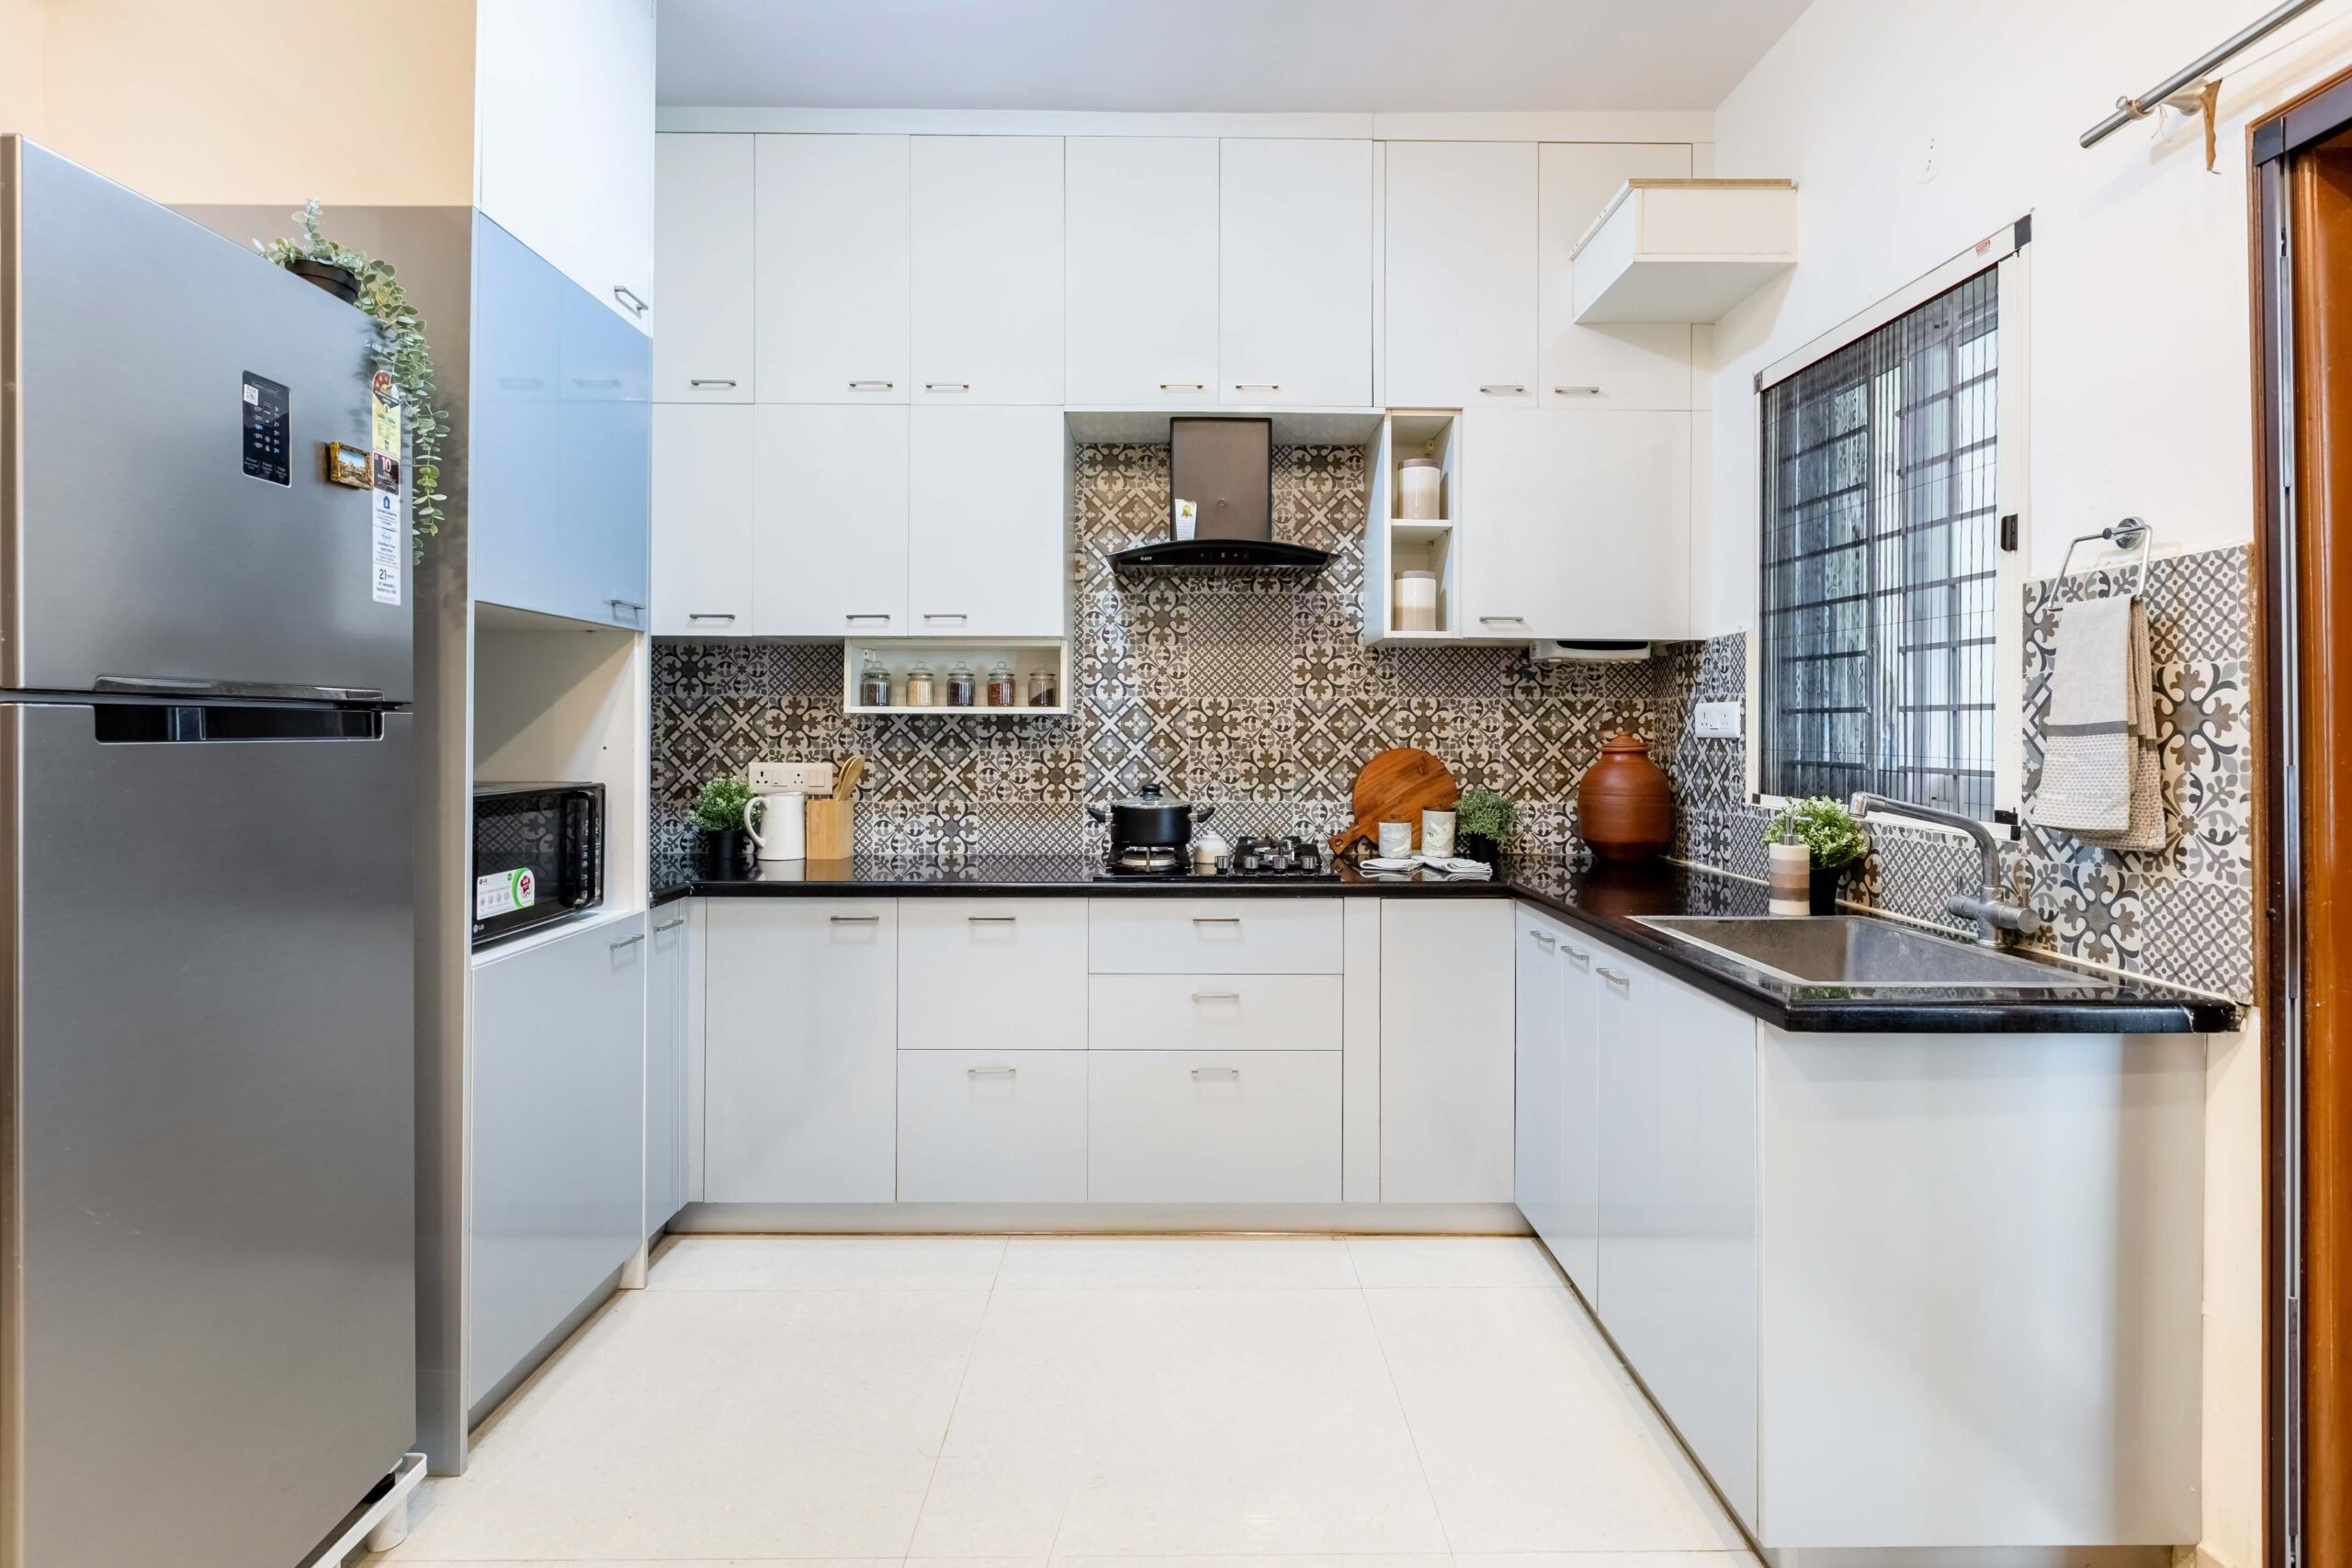
Range surfaces endure direct heat that bakes grease onto cooktops and burner hardware. Restoring these surfaces requires adequate dwell time rather than abrasive scrubbing, which can scratch enamel or stainless steel finishes.
- Clear Debris: Use a damp rag soaked in warm, soapy water to clear loose particles.
- Soak Hardware: Detach burners and heavy grates, placing them in a sink filled with hot, soapy water.
- Apply Solution: Spray the stovetop with a designated cleaner or homemade solution. Let it sit undisturbed for 10 to 15 minutes.
- Wipe Clean: Use a microfiber cloth to wipe the surface. For persistent spots or interior oven glass, apply a paste of baking soda and water and let it rest for 10 minutes.
- Dry and Reinstall: Scrub the soaked burners, rinse thoroughly with fresh water, and dry completely before putting them back.
Note: For free-standing cooking ranges, pull the appliance away from the wall several times a year to clean hidden grease paths on side panels and subfloors that standard mopping cannot reach.
Maintaining Overhead Vent Hoods and Filters
Positioned directly over heat sources, exhaust hoods capture the highest concentration of evaporated cooking oils. Neglecting these fixtures allows sticky residues to saturate the mesh and impede airflow.
Monthly Maintenance Routine
To keep your ventilation system efficient, follow these steps monthly:
- Filter Soak: Remove metal exhaust filters and grates, letting them soak in hot, soapy water.
- Housing and Fan Care: Wipe the exterior hood canopy and accessible fan blades using a degreaser or hot soapy water. Apply a baking soda paste to any stubborn oil spots.
- Hardware Scrub: Use a soft sponge or a nylon scrub brush to clean the soaked filters, then rinse and snap them back into place once dry.
- Grain-Aligned Buffing: If cleaning stainless steel, use a soft microfiber towel to buff away leftover soap residue in the direction of the metal grain.
Safeguarding Cabinets and Vertical Walls
A common misconception is that all wall and cabinetry finishes can handle intensive scrubbing. Different materials require vastly different levels of care to prevent permanent damage.
Surface-Specific Care Guide
- High-Gloss Tile Backsplashes: These tolerate standard commercial degreasers. Allow the cleaner to sit for 10 to 15 minutes before wiping with a damp towel.
- Painted Drywall: Use extreme caution. Walls with a light sheen can withstand gentle wiping with mild dish soap, but flat or matte paints break down under vigorous friction.
- Wood and Laminate Cabinetry: Wipe door faces down weekly using soapy water to prevent grease from compounding. Avoid harsh cleaners that strip factory finishes or varnishes.
Pro Tip: Moisture should never be left standing on cabinet doors, as liquid warps wood and weakens adhesives. Always hand-dry every cabinet panel with a soft towel immediately after washing. To prevent damage, test new cleaning agents on an incons**cuous corner first.