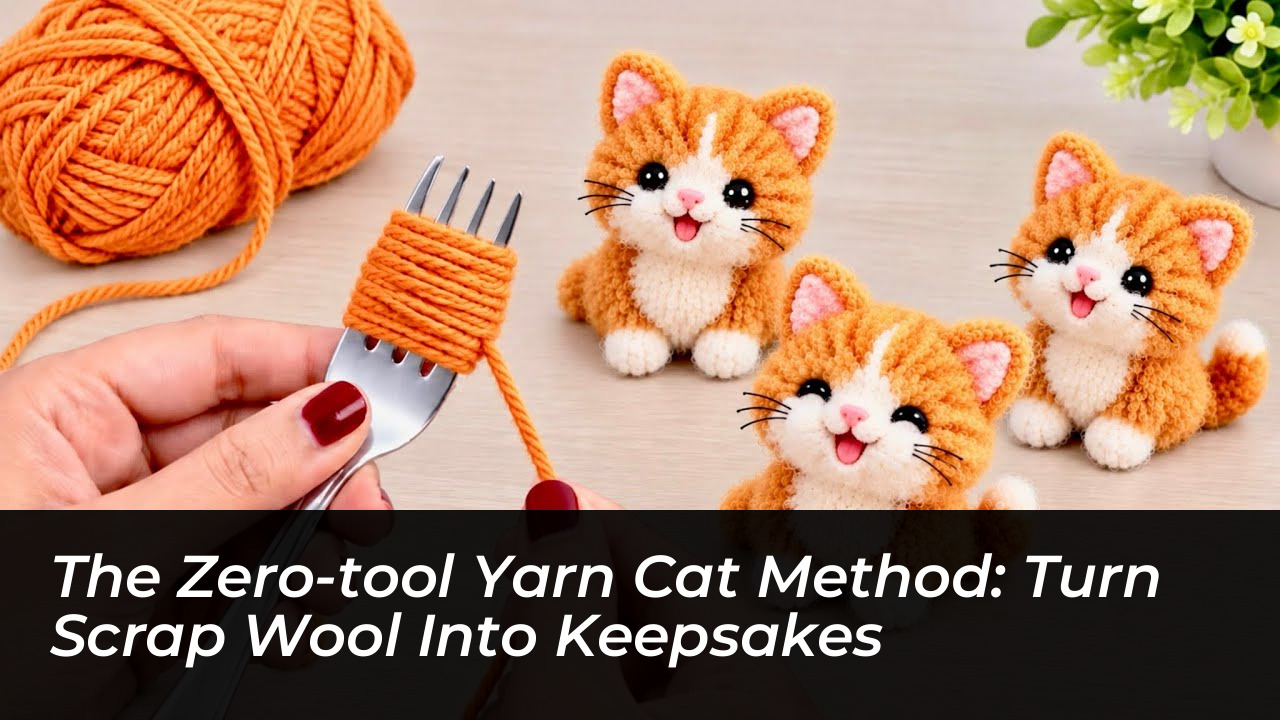

Creating miniature yarn cats requires neither specialist knitting needles nor expensive haberdashery equipment. Your own fingers and basic household recycling provide every tool necessary to produce expressive feline figures. By employing simple winding, tying, and finger-manipulation techniques, anyone can sculpt tactile woollen pets out of leftover yarn skeins in less than half an hour. With creative hobbies across the UK increasingly leaning towards frugal, screen-free pastimes, simple fibre crafts offer an accessible outlet for makers of all skill levels. Crafting with wool remnants is budget-friendly, and it also keeps textile offcuts out of domestic waste bins. Here is how the zero-tool method works, why it holds structural integrity without wire armatures, and how to customise your creations in every feline shade imaginable.
The Physics of Tool-Free Fibre Sculpting
Traditional plush toy making demands sewing machines, stuffing fluff, patterns, and safety eyes. In contrast, crafting yarn cats relies on the natural friction and tension of wound fibres. When yarn is coiled around your fingers or scrap cardboard and bound tightly at its centre, the tension compresses the core while allowing the outer loops to fluff outwards. Once trimmed or sculpted, these concentrated bundles create stable, self-supporting forms without internal wire or plastic skeletons. This method strips away the financial barrier of specialist hobbies, allowing complete beginners to produce tactile ornaments with supplies already sitting in a drawer.
Essential Materials You Already Have at Home
Before beginning, gather a few basic domestic supplies. While no formal crafting equipment is necessary, having your elements prepared ensures a clean finish.
- Scrap yarn or knitting wool: Double-knitting (DK), chunky, or aran weights in any colour work brilliantly, offering dense coverage with fewer wraps.
- A pair of household scissors: Sharp blades are essential for achieving clean cuts when trimming ears and muzzle contours.
- Cardboard offcuts (optional): An old cereal box or delivery parcel scrap helps standardise wrapping widths if you prefer not to use your fingers.
- Textile or PVA glue: A single drop secures facial features firmly in place without fiddly stitching.
Step-by-Step: Assembling Your Miniature Cat
The construction process breaks down into three straightforward stages: the foundational body bundle, the head assembly, and the character shaping.
1. Forming the Body and Head Pom-Poms
Begin by wrapping yarn around three fingers roughly 80 to 100 times to create the primary torso volume. Slide the coiled bundle off your hand carefully, keeping the circular shape intact, and bind the centre firmly with a separate 15 cm strand of yarn, knotting it tightly twice. Repeat the wrapping process around two fingers approximately 60 times to produce a slightly smaller bundle for the head. Fasten this centre securely, leaving long tail ends on the binding strand to tie both the head and body components together later.
2. Crafting Pointed Ears and Feline Contours
To produce the distinctive triangular ears without stitching fabric, tease small tufts of yarn from the head bundle upwards. Bind the base of each tuft tightly with matching thread before snipping the ends into sharp points. Alternatively, tightly braided yarn offcuts can be folded and glued directly to the crown. Use scissors to trim the outer loops of the head bundle into a neat spherical shape, trimming shorter around the snout area to establish facial depth. A short online demonstration can help you visualise the tactile winding motion in practice, but the hands-on process remains remarkably intuitive.
3. Defining the Tail and Features
For the tail, twist a bundle of yarn lengths tightly, fold it in half so it coils upon itself, and anchor the root into the base knot of the torso. Small felt scraps, tiny beads, or contrasting knots of black thread form the nose, eyes, and whiskers.
Creative Customisation: From Tabbies to Calicos
Because the technique relies solely on hand-wrapping, colour patterns can be tailored infinitely. By feeding two contrasting strands of yarn simultaneously-such as cream and ginger-you generate an organic mottled coat reminiscent of a British Shorthair or tortoiseshell. Colour blocking provides another striking effect. Wrap 30 turns of white wool followed by 50 turns of grey to produce a cat with an immaculate white chest and darker back. The sheer versatility makes the project ideal for replicating beloved family pets.
Practical tip: Acrylic yarn tends to produce firmer, crisper pom-pom silhouettes, whereas pure wool or alpaca yields a softer, vintage appearance that fluffs gently over time.
Eco-conscious crafting: This zero-equipment method repurposes short end-pieces of wool that are otherwise too brief for traditional knitting or crochet, making it a zero-waste household activity.
Gifting inspiration: Finished pieces serve as charming bag charms, festive tree ornaments, or personalised desk companions that carry genuine handmade sentiment.
Frequently Asked Questions About Zero-Tool Yarn Crafting
What type of yarn works best for making a yarn cat?
Double-knitting (DK), chunky, or aran weight yarns work best. Acrylic yarns provide a firmer structure and crisper pom-pom silhouette, while wool or alpaca offers a softer, vintage look.
Do I need any special tools or equipment?
No special equipment is required. You only need your fingers (or a piece of scrap cardboard), a pair of household scissors, scrap yarn, and a tiny drop of PVA or textile glue for the facial features.
How do I make the cat’s ears without sewing?
You can tease small tufts of yarn upward from the head pom-pom, tie them tightly at the base with matching thread, and snip them into sharp triangular points using sharp scissors.
Is this project suitable for absolute beginners and children?
Yes, the winding and tying technique is extremely intuitive and safe, making it a wonderful screen-free, zero-waste activity for crafters of all ages.
How can I make multi-coloured cats like tabbies or calicos?
You can hold two contrasting yarn strands together while wrapping to create a mottled, multi-coloured coat, or use colour-blocking techniques by wrapping different amounts of distinct coloured wools in sequence.
Which yarn colours will you choose for your first creation? Share your favourite crafting tips and project ideas in the comments below.