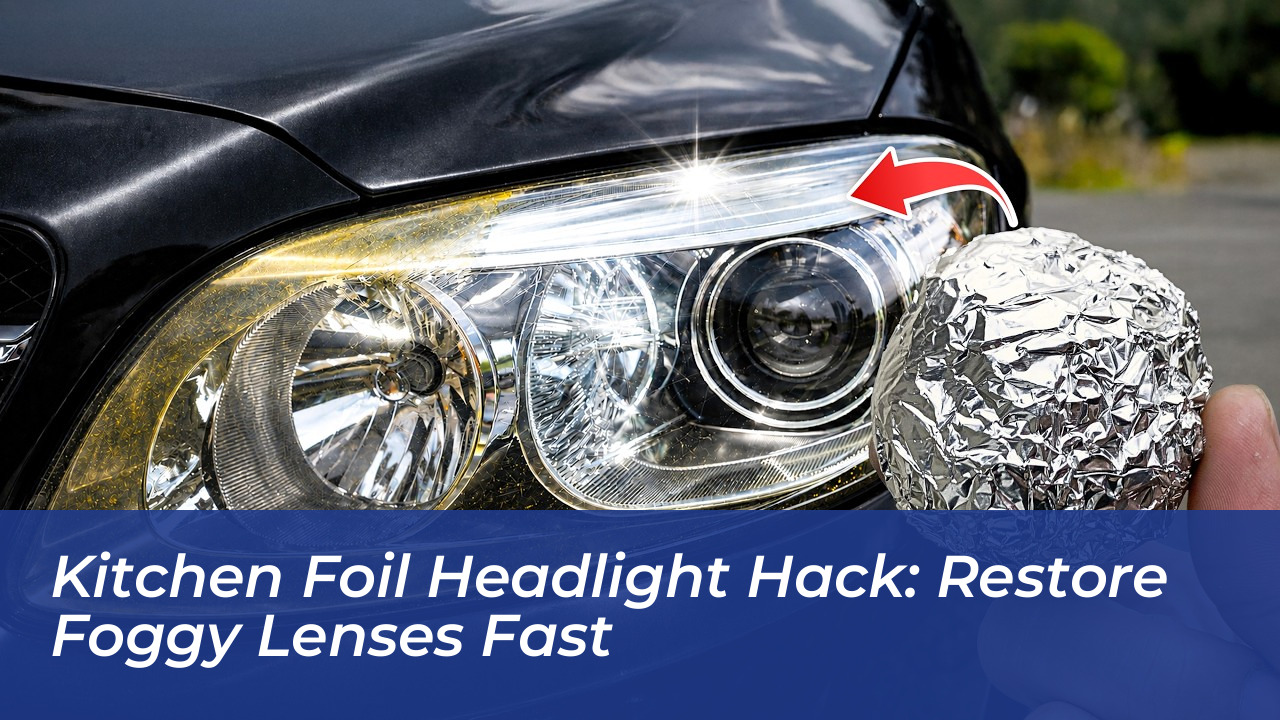

Rubbing dull polycarbonate lenses with crumpled aluminium foil and a mild household lubricant lifts stubborn surface oxidation in under ten minutes. This restores beam clarity without the expense of commercial sanding kits. The soft metal acts as a non-gouging mechanical micro-abrasive that shears away degraded clear coat while leaving the underlying plastic intact. For British drivers battling dark, rain-soaked winter roads and strict annual testing, clouded lenses represent more than an aesthetic nuisance. Dimmed light output directly jeopardises night-time road safety and frequently leads to a refusal of an MOT test certificate under Driver and Vehicle Standards Agency (DVSA) lighting standards.
Why Polycarbonate Lenses Turn Yellow and Opaque
Modern vehicle headlamps are manufactured from tough, impact-resistant polycarbonate rather than traditional heavy glass. Factory headlamps leave the assembly line protected by a microscopic UV-inhibiting lacquer designed to prevent solar degradation. Over years of exposure to sunlight, seasonal temperature fluctuations, and corrosive road salt sprayed across UK motorways, this sacrificial outer layer breaks down. The degraded polymer oxidises into a crusty, yellowed film that refracts your headlamp beams unpredictably. Instead of casting a clean, focused beam pattern onto the asphalt, cloudy lenses scatter light into oncoming traffic, blinding other motorists while severely cutting your forward visibility.
A variety of environmental factors accelerate this deterioration:
- Sunlight: Ultraviolet radiation is the primary driver of polymer breakdown and yellowing.
- Road Debris: Grit, sand, and salt continuously micro-sandblast the outer protective lacquer.
- Thermal Stress: Heat from high-output halogen or HID bulbs bakes the plastic from the inside out.
- Harsh Chemicals: Aggressive car wash solvents and bug removers strip away remaining protective barriers.
The Foil Method: How Kitchen Aluminium Strips the Film
Kitchen foil sits at roughly 2.5 to 3 on the Mohs hardness scale. When crumpled gently, its pliable multifaceted ridges shear off degraded, brittle polymer crust without cutting deep grooves into the harder base plastic underneath. Paired with a liquid lubricant-such as water, diluted white vinegar, baking soda paste, or automotive shampoo-the foil floats across sound plastic while cutting aggressively through oxidised residues.
Step-by-Step Restoration Guide
Executing this technique correctly prevents unintentional damage to adjacent vehicle body panels:
- Mask the perimeter: Apply two layers of quality automotive masking tape around the painted edges of the front bumper and bonnet wings to safeguard the vehicle paintwork from accidental friction.
- Wash the lens: Remove coarse grit, dust, and road grime using warm, soapy water and a microfibre cloth, ensuring zero sharp dirt particles remain on the surface.
- Form the foil pad: Tear off a 30-centimetre sheet of aluminium foil and scrunch it into a loose, palm-sized ball, keeping the dull side facing outward for a gentler initial abrasive contact.
- Apply lubrication: Soak the headlamp generously with water, a mild baking soda paste, or white toothpaste to provide continuous slip and suspend lifted debris.
- Work in small circles: Rub the wet foil pad firmly over the hazy patches in small, uniform circular motions for three to five minutes, replenishing the lubricant frequently as dark residue begins to build.
- Rinse and assess: Flush away all slurry with clean water and dry the lens thoroughly to check light transparency before repeating on resistant yellow patches.
Checking Your Headlights: Inside vs. Outside Haze
Before beginning any restoration procedure, it is vital to determine whether the cloudiness is located on the exterior surface or trapped inside the housing. Gently run your fingernail across the lens. If the surface feels rough, pitted, or chalky, the oxidation is external, and the foil method will yield excellent results. If the surface feels completely smooth yet appears milky or foggy from within, the problem is internal moisture caused by a compromised perimeter seal. In such cases, external polishing will not resolve the issue, and the headlamp assembly must be professionally resealed or replaced.
The Vital Final Step: UV Resealing
Stripping the yellowed crust produces immediate optical clarity, but leaving bare polycarbonate exposed invites aggressive oxidisation to return within weeks. Because the factory UV coating was already compromised, the freshly scrubbed plastic possesses zero defence against atmospheric exposure and sunlight. Once dry, immediately coat the plastic with a high-grade automotive UV sealant, synthetic paint sealant, or a wipe-on ceramic coating. Allowing this protective barrier to cure fully locks in the transparency and prevents another round of heavy oxidation before your next vehicle inspection.
Preserving precise headlight alignment and crystal clarity ensures compliance with Section 4 of the DVSA MOT inspection manual, eliminating unnecessary re-test fees. A five-minute driveway job can dramatically improve your safety on poorly lit rural lanes and wet motorway commutes.
Frequently Asked Questions
Will aluminium foil scratch my car’s plastic headlights?
No. Aluminium is significantly softer on the Mohs hardness scale than the tough polycarbonate used for modern headlamp lenses. When crumpled lightly, the foil edges act as micro-abrasives that target brittle oxidation without gouging the sound plastic beneath.
Do I need to use toothpaste with the aluminium foil?
While plain water or a baking soda paste works well as a lubricant, a basic white baking soda toothpaste provides extra mild micro-abrasive support that helps lift stubborn yellow haze more quickly.
How long will the kitchen foil restoration last?
If you apply a quality UV-blocking clear sealant or ceramic coating immediately after cleaning, the results typically last between one and three years. If you skip the UV sealant, the haze will return within a matter of weeks.
Can this method help my car pass its MOT test?
Yes. Dimmed or severely clouded headlights reduce light output and can cause an immediate MOT test failure under DVSA regulations. Clearing the lenses restores proper beam intensity and pattern compliance.
What should I do if my headlights are foggy on the inside?
Internal cloudiness is caused by moisture entering through a cracked housing or failed seal. The aluminium foil hack only cleans exterior oxidation and will not fix internal condensation issues.