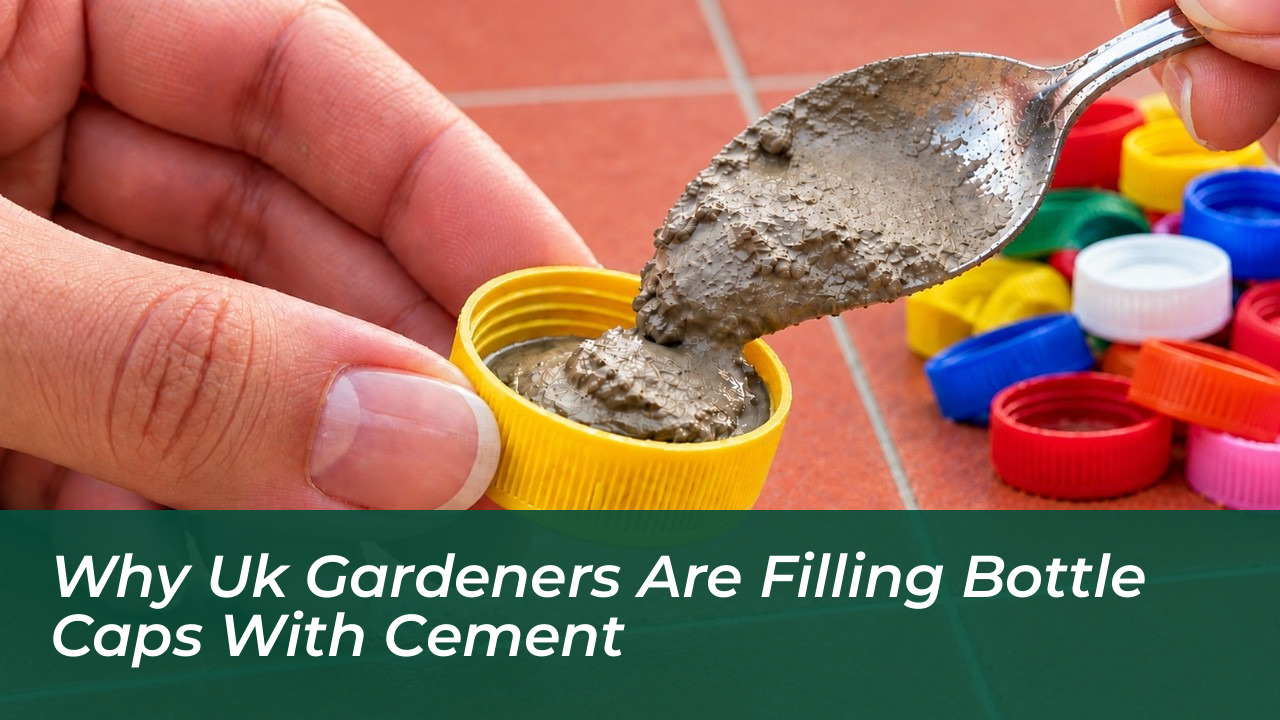

By pouring rapid-set mortar into discarded plastic bottle caps, gardeners are creating uniform, micro-concrete “tesserae.” These small, interlocking pieces are being used to build durable, frost-resilient garden planters at almost no cost. What looks like a simple recycling project is actually a clever use of composite masonry, turning household waste into functional garden architecture.
Every year, millions of high-density polyethylene (HDPE) screw tops end up in the bin because their small size often causes them to be missed by automated sorting facilities. Instead of sending them to a landfill, DIY enthusiasts are using these caps as ready-made casting moulds. The resulting modular stones are strong enough to build bespoke vessels without the need for expensive pottery equipment or professional bricklaying tools.
The Benefits of Using Bottle Caps as Moulds
Plastic bottle caps are excellent moulds for two reasons: their smooth, non-porous HDPE walls and their natural flexibility. Because the interior is smooth, wet cement releases easily once it has set, meaning you do not need to buy chemical release agents.
A standard sand-and-cement mortar mix sets uniformly within these small caps. Because the plastic retains moisture, the concrete cures under optimal conditions, achieving significant strength before you remove it from the mould.
Essential Materials
To build a weatherproof planter, you will need a few simple supplies found at any local builder’s merchant:
- Plastic bottle caps: Wash these thoroughly to remove any sugary residues, milk proteins, or oils that could interfere with the setting process.
- Fine aggregate cement mix: Use rapid-hardening mortar or a fine sand-cement blend. Avoid mixes with coarse gravel, as they will not fit into the small caps.
- Structural base: Use items like discarded cardboard cylinders, small plastic buckets, or reclaimed polystyrene boxes to act as the shape for your planter.
- Safety gear: Wear heavy-duty rubber gloves, eye goggles, and a dust mask to protect yourself from wet cement, which can be caustic.
Step-by-Step Assembly
Consistency is key to a good finish. Blend your cement and fine sand with clean tap water until the mixture reaches the consistency of a thick, workable paste.
- Fill the caps: Press the mortar firmly into each cap using a spatula or your thumb. Tap the sides of the cap to force any air bubbles to the surface.
- Cure: Leave the units to cure undisturbed in a dry, frost-free area for 24 to 48 hours.
- Release: Once hardened, gently twist the plastic cap to release the solid concrete disc.
- Assemble: You can embed these cured discs into a fresh layer of mortar wrapped around your base form, or arrange them as a textured mosaic.
Weatherproofing for the British Climate
While mortar is robust, the UK’s wet winters and freeze-thaw cycles can cause damage. If water seeps into surface cracks and freezes, the expansion can fracture the joints.
To prevent this, apply a breathable exterior concrete sealer to your finished creation. This barrier repels moisture while allowing internal vapour to escape, which prevents efflorescence and cracking. If you are using the vessel as a planter, remember to drill drainage holes in the base to keep your plants healthy.
Frequently Asked Questions
Can I use any type of plastic bottle cap?
High-density polyethylene (HDPE) caps-commonly found on milk, soda, and juice bottles-work best because their flexible, non-porous walls allow the concrete to pop out easily.
Do I need specialized concrete mixes?
No, standard rapid-setting mortar or a fine sand-and-cement mix is perfect. Avoid coarse gravel aggregates, as the stones are too large for the caps.
How do I prevent cracking during winter?
Ensure your mixture cures in a frost-free environment for at least 48 hours, and always apply a breathable exterior concrete sealer to block moisture absorption.
Are these planters safe for edible herbs?
Yes. Once the caps are thoroughly washed and the mortar is fully cured, the materials are chemically inert and safe for growing culinary herbs and vegetables.
How do I attach the finished concrete discs together?
You can embed the cured discs directly into a fresh backing layer of exterior mortar applied over your chosen base form.