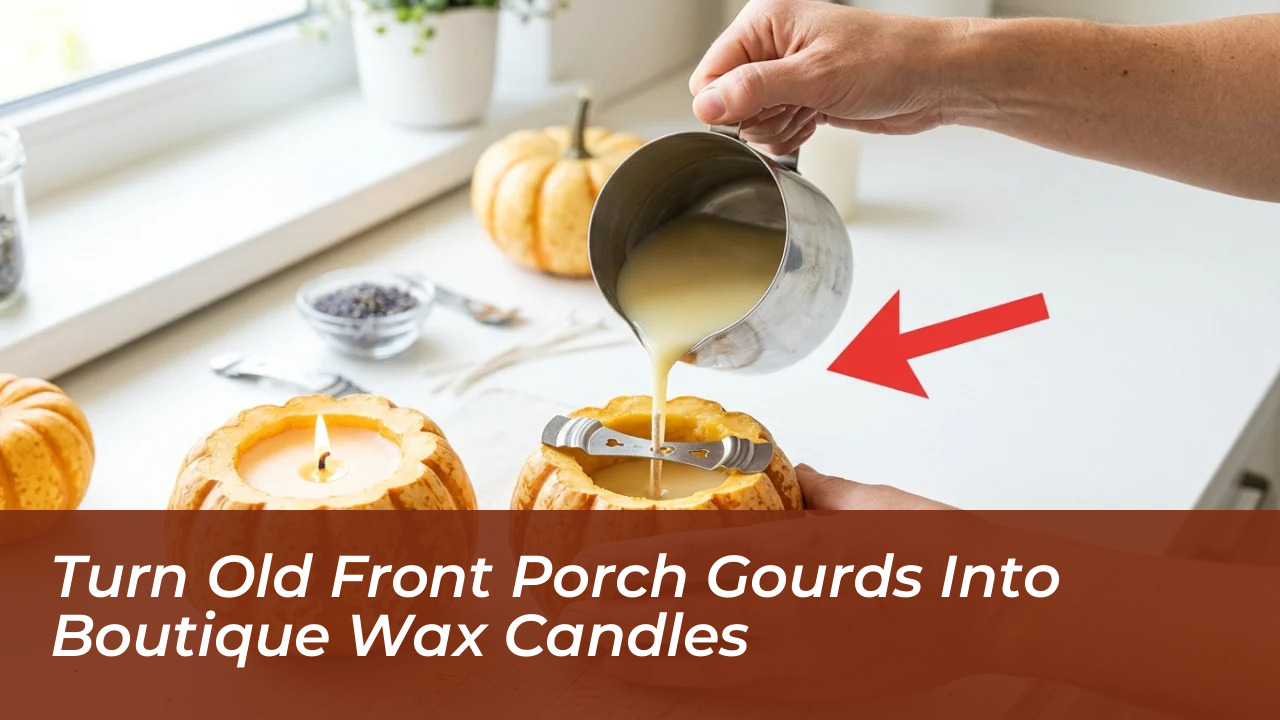

Old, sun-faded front porch gourds do not belong in the trash bin when seasonal decor transitions into winter. Instead of discarding weather-beaten ornamental squash, you can carve out their interior flesh and transform them into custom, lifelike candle molds for zero-waste seasonal centerpieces. By using natural ridges as a structural casting vessel, home decorators can produce detailed botanical candles that rival high-end boutique home goods.
The upcycling technique relies on utilizing flat-bottomed ornamental squash that have lost their vibrant color under direct sunlight but remain structurally sound. While slightly aged or dry gourds work exceptionally well, specimens that are overly squishy, soft, or visibly rotting should be skipped entirely. Preserved dried gourds are also unsuitable for this project, as their hardened exteriors resist slicing and pose a genuine fire hazard if exposed to direct heat.
Repurposing household materials keeps supply costs minimal. You can melt commercially packaged wax pellets or reclaim leftover remnants from finished candle jars and unused taper candles stored around the house. When salvaging old candles, retain the embedded wicks to eliminate the need for fresh craft components.
Essential Materials and Craft Preparation
Before preparing your molds, assemble the proper tools to maintain safety and precision throughout the melting and pouring phases. Working with hot wax requires strict heat management to ensure clean scent distribution and structural stability.
- Flat-bottomed ornamental gourds: Selected for balance and clean botanical ridges.
- Wax supply: Standard wax pellets or salvaged household candle wax.
- Melting equipment: A traditional double boiler or a standard kitchen slow cooker.
- Craft thermometer: Designated exclusively for non-food wax projects.
- Carving tools: A heavy kitchen knife, a handheld drywall saw for tough skins, and a metal spoon.
- Additives: Candle-safe fragrance oils and concentrated dye chips or liquids.
- Wicks: Salvaged wick assemblies or pre-tabbed cotton candle wicks.
Step-by-Step Gourd Molding and Wax Pouring
Transforming vegetable rind into a functional wax cast involves a straightforward four-step process that preserves the gourd’s outer contours on the finished candle.
- Melt the wax base: Place wax flakes or leftover chunks into a double boiler over low heat. If repurposing older wax jars, use a slow cooker set to low to melt residual wax gradually without scorching.
- Carve the reservoir: Slice off the top stem area of the gourd horizontally using a kitchen knife or a handheld jab saw to form an open bowl. Using a sturdy metal spoon, scrape out all interior seeds and fibrous strings, following the internal ridges closely to define the final candle profile.
- Incorporate scent and color: Use a craft thermometer to track the liquid wax temperature. For soy wax, target a specific thermal window of 175 to 185 degrees Fahrenheit before stirring in s**cy fragrance oils like cinnamon and liquid or powdered wax dyes.
- Set the wick and cast: Position a wick securely in the center of the hollowed cavity, pour the liquid wax carefully to the rim, and allow it to solidify completely at room temperature.
Achieving a temperature range between 175 and 185 degrees Fahrenheit forms a stable molecular bond between the wax and fragrance oils, preventing scent evaporation and separation. Once the wax has fully cured, cut a vertical slit along one side of the rind using a sharp utility edge and gently peel the gourd away. What remains is a freestanding, custom-contoured wax candle displaying every organic curve and ribbing detail of the original squash.
Safety and Curing: Avoiding Common DIY Pitfalls
A widespread misconception is that crafters should leave the fresh gourd intact and simply burn the wax straight out of the squash bowl. In reality, raw gourd flesh rapidly rots when exposed to internal moisture and ambient flame heat, generating unpleasant odors and mold within days.
Gourd Processing Quick Reference
Review this execution matrix before starting your project to ensure proper technique from selection to display:
- Gourd Selection: Firm, flat bottom; discard soft or decaying specimens.
- Interior Carving: Scrape wall flesh bare to expose structural ridges.
- Fragrance Binding: Stir scents strictly between 175°F and 185°F.
- Mold Removal: Score and strip outer skin entirely after full cooling.
- Display Surface: Burn only atop non-flammable glass or marble platters.
Because extracted candles lack a traditional glass container, molten wax can overflow the edges during initial burn cycles. Always position these finished freestanding pillar casts onto fire-safe marble trays or tempered glass platters before striking a match.
Reclaiming weathered porch decor provides an easy path to sustainable holiday crafting without buying expensive boutique sets. Inspect your decorative pumpkins and squash this week to set aside firm, uniquely grooved pieces for mold extraction. Share your experiences with us in the comments section below and let us know what fall fragrance combinations work best in your home.