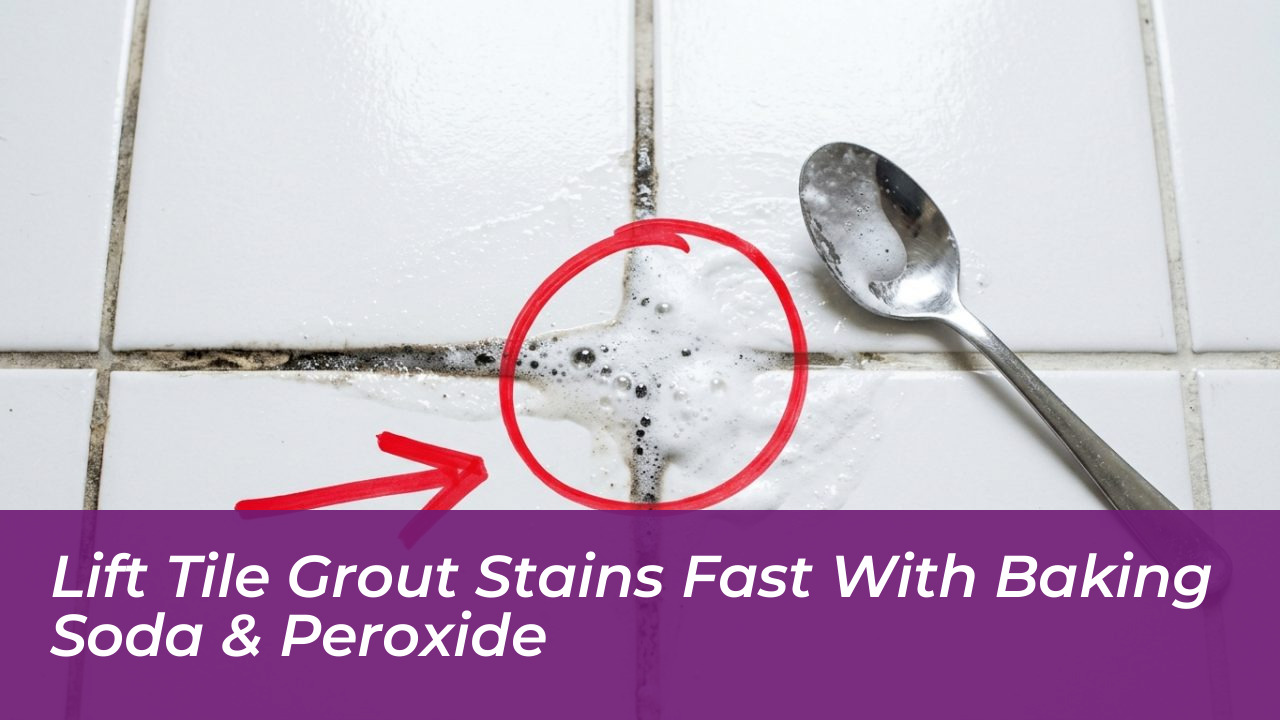

Stubborn, dark discoloration on tile grout can make an entire room look unkempt, but restoring those bright lines does not require expensive commercial chemicals or harsh acids. By mixing just a spoonful of baking soda with standard 3% household hydrogen peroxide, you can create a powerful, thick paste that lifts dingy grime and stains away within minutes through straightforward household chemistry.
Instead of relying on overpowering commercial bleaches that release heavy fumes, this accessible DIY method leverages dual-action science. It combines a gentle mechanical abrasive with active oxygen bleaching to tackle persistent discoloration right at the molecular level, offering an efficient and budget-friendly solution for tough domestic cleanup chores.
The Dual-Action Chemistry Behind the Mixture
The true strength of this cleaning trick lies in how its two primary components approach stains from different directions. While one ingredient physically scours away debris, the other chemically destroys the source of the discoloration itself.
Baking soda acts as a mildly alkaline, ultrafine abrasive. Its physical structure allows it to scour tiled surfaces safely without leaving scratches, mechanically lifting stuck-on dirt and grease while neutralizing acidic household odors. Meanwhile, hydrogen peroxide provides the necessary chemical power.
Stains hold visible pigmentation due to specific molecular structures known as chromophores. As a powerful oxidizing agent, hydrogen peroxide breaks the chemical bonds inside these chromophores. As the peroxide oxidizes, it decomposes and releases active oxygen, functioning identically to commercial oxygen bleaches. This reaction strips the stain of its pigment, effectively decolorizing the mark rather than simply covering it up.
Step-by-Step Guide: How to Mix and Apply the Paste
Because the chemical reaction between baking soda and peroxide begins immediately, the mixture starts losing its potency when exposed to open air. Always prepare just enough paste for the immediate cleaning job rather than attempting to store it for future use.
- Measure roughly half a cup of baking soda into a small, clean container.
- Slowly pour in standard 3% household hydrogen peroxide, stirring gradually until a thick, spreadable paste forms.
- Spread the fresh paste directly over discolored grout lines, stained plastic containers, or dirty ceramic cookware.
- Allow the mixture to sit undisturbed for a few minutes so the active oxygen can react with the stubborn chromophores.
- Scrub the treated area gently using a soft brush or sponge, then rinse the surface thoroughly with clean water.
Timing matters significantly during application. Letting the paste sit for a brief window allows the oxidizing effect to penetrate deep into porous grout, but letting it dry out entirely makes rinsing much more difficult.
Where to Use the Mixture Safely Around the Home
While this homemade combination is gentler than industrial chlorine-based bleaches, oxidation and mild abrasion can still alter delicate finishes if used carelessly. Knowing which household materials tolerate the paste prevents accidental surface damage.
Here are the best surfaces for this cleaning method:
- White Tile Grout: Loosens embedded grime while peroxide lightens discoloration; scrub gently with a soft brush and rinse clean.
- Plastic Food Containers: Reduces yellowing and food marks; verify container wash instructions and rinse thoroughly before food use.
- Ceramic Cookware & Baking Sheets: Mild abrasion lifts baked-on residue while peroxide lightens surface stains; verify manufacturer guidelines first.
- White Fabrics: Helps lift organic marks like food or drink spills; spot test first because it can strip fabric dyes.
Surfaces to Avoid
Never apply this cleaning paste indiscriminately across your home. Colored garments, dark-tinted grout lines, and delicate specialty finishes can suffer unwanted bleaching. Natural stone surfaces such as marble are vulnerable to surface etching and permanent color alteration. When approaching an unfamiliar material, always test a dime-sized amount of the paste on a hidden spot before treating the broader area.
Frequently Asked Questions
Why does hydrogen peroxide foam up when mixed with baking soda?
The gentle foaming results from the rapid release of oxygen gas. Baking soda destabilizes the hydrogen peroxide molecule, causing it to break down into water and oxygen gas, which helps lift dirt away from surfaces.
Can I store leftover baking soda and peroxide paste for later?
It is not recommended. Once mixed, hydrogen peroxide rapidly loses its potency when exposed to air and light. Always mix a fresh, small batch right before tackling your cleaning project.
Is this mixture safe to use on dark-colored tile grout?
No. Hydrogen peroxide has bleaching properties that can lighten or discolor dark-tinted grout lines. Stick to white or light-colored grout and always perform a spot test first.
Does the mixture leave a strong chemical odor?
Unlike commercial cleaners that leave heavy artificial fragrances behind, this DIY paste has a very mild scent that quickly dissipates after rinsing the treated surface with clean water.
How long should I let the paste sit on stained grout?
For most tile grout applications, letting the paste sit for 5 to 10 minutes gives the active oxygen enough time to break down stains before you scrub and rinse.